How to draw a Head Side View | Head Drawing Tutorial Step By step for Beginners
How to draw a Head Side View | Head Drawing Tutorial Step By step for Beginners
In this step-by-step drawing tutorial, we’ll explore how to sketch a head in side view using a circle as the foundation. Grab your pencil and paper, and let’s bring your artistic vision to life with simple, easy-to-follow instructions.
1. Materials Needed: Gather a piece of paper, a pencil, an eraser. Use HB for drawing Basic shapes & 2B for detailing part.
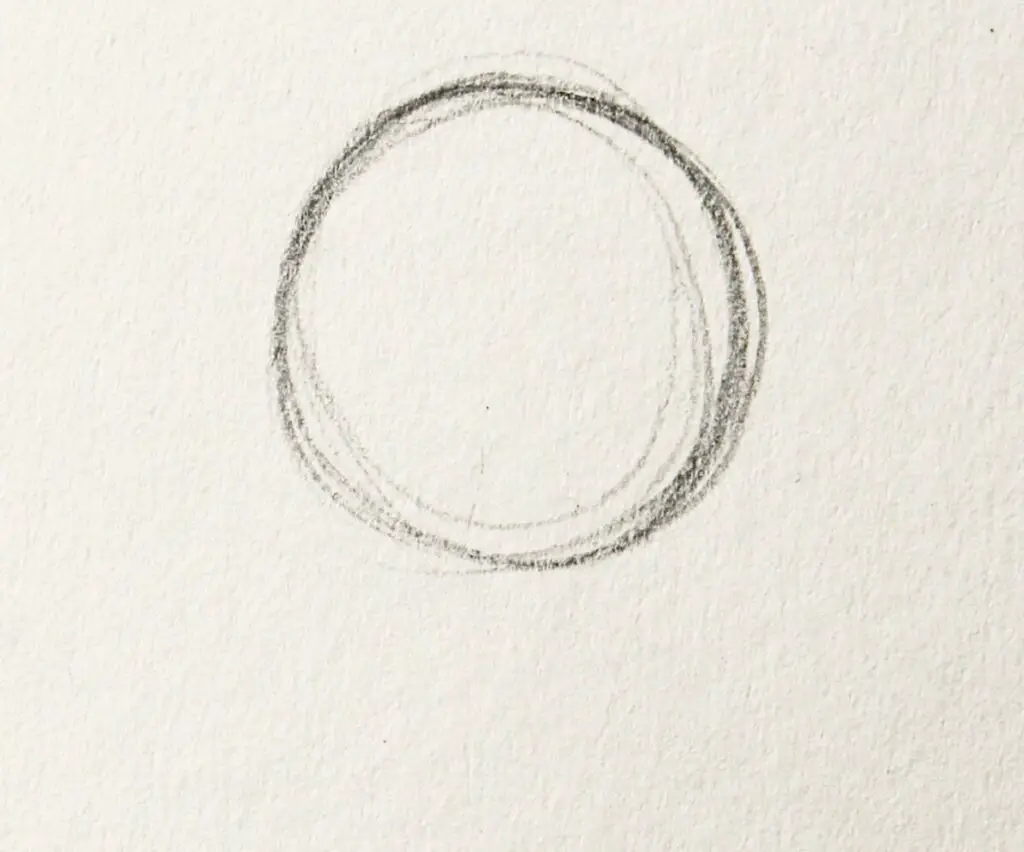
2.Draw the Circle: Start by drawing a medium-sized circle towards the top center of your paper. This represents the cranium or skull.
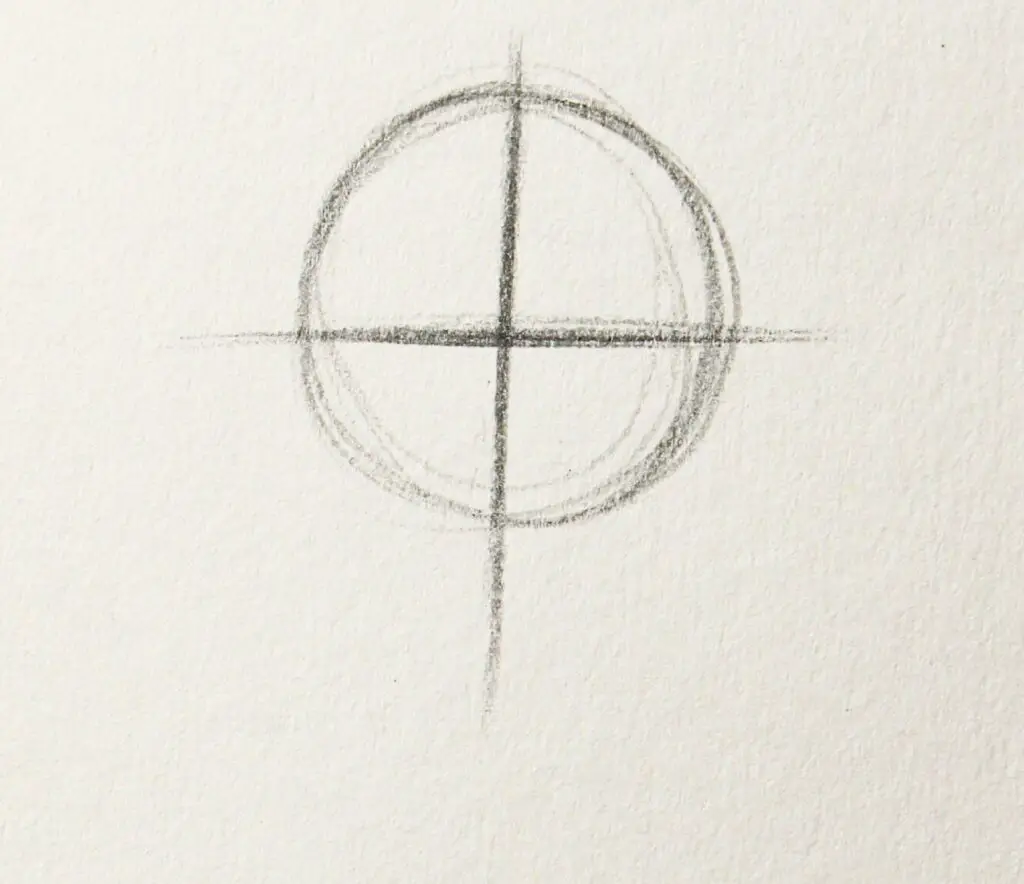
3. Add Guiding Lines: Inside the circle, draw a vertical line that passes through the center (top to bottom). Draw a horizontal line crossing the circle’s middle; this will mark the eye level.
Sketch a horizontal line for the mouth. Another horizontal line, slightly below the mouth line, serves as the base for the chin area.
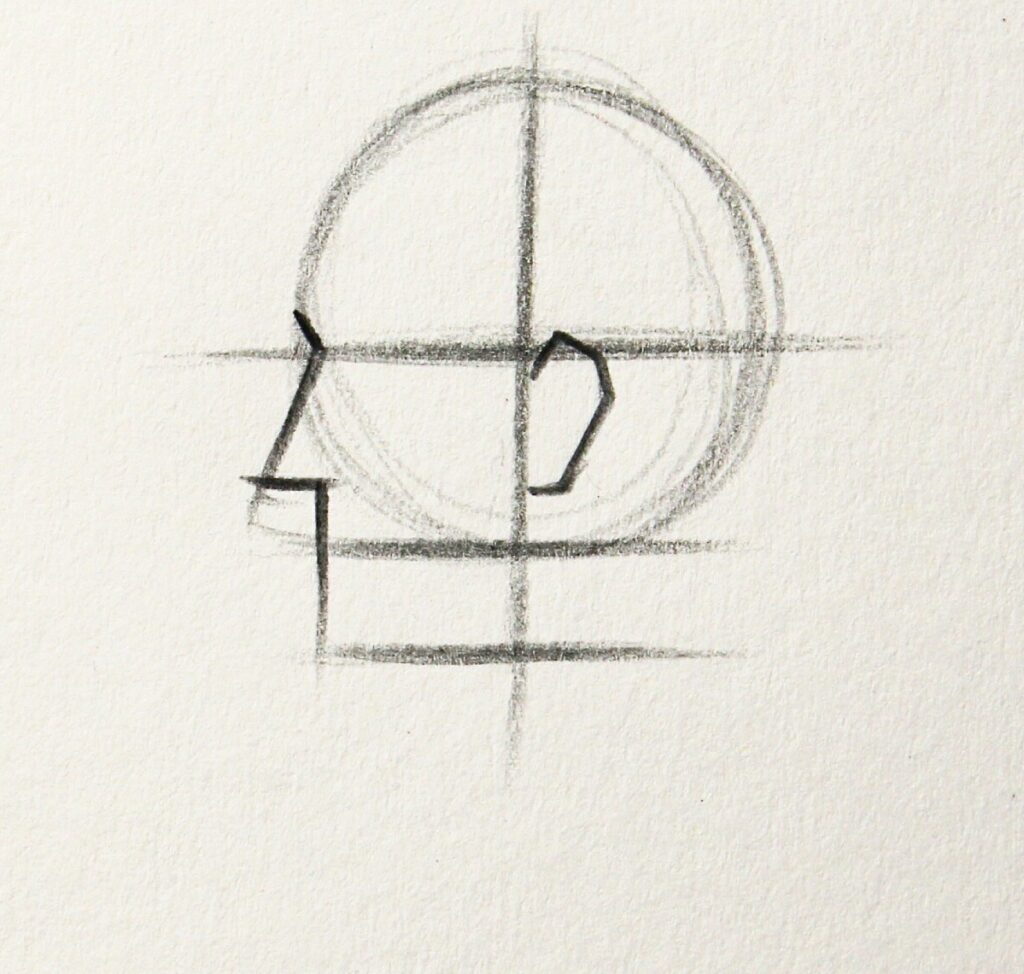
4. Add Rough Details for Nose & Ear Just below the eye level, draw a small oval or a slightly flattened shape for the nose. Create the base for the lips. On the side of the head, draw a reverse C-shaped curve just above the jawline. Align the top of the C with the eye level. This represents the ear.
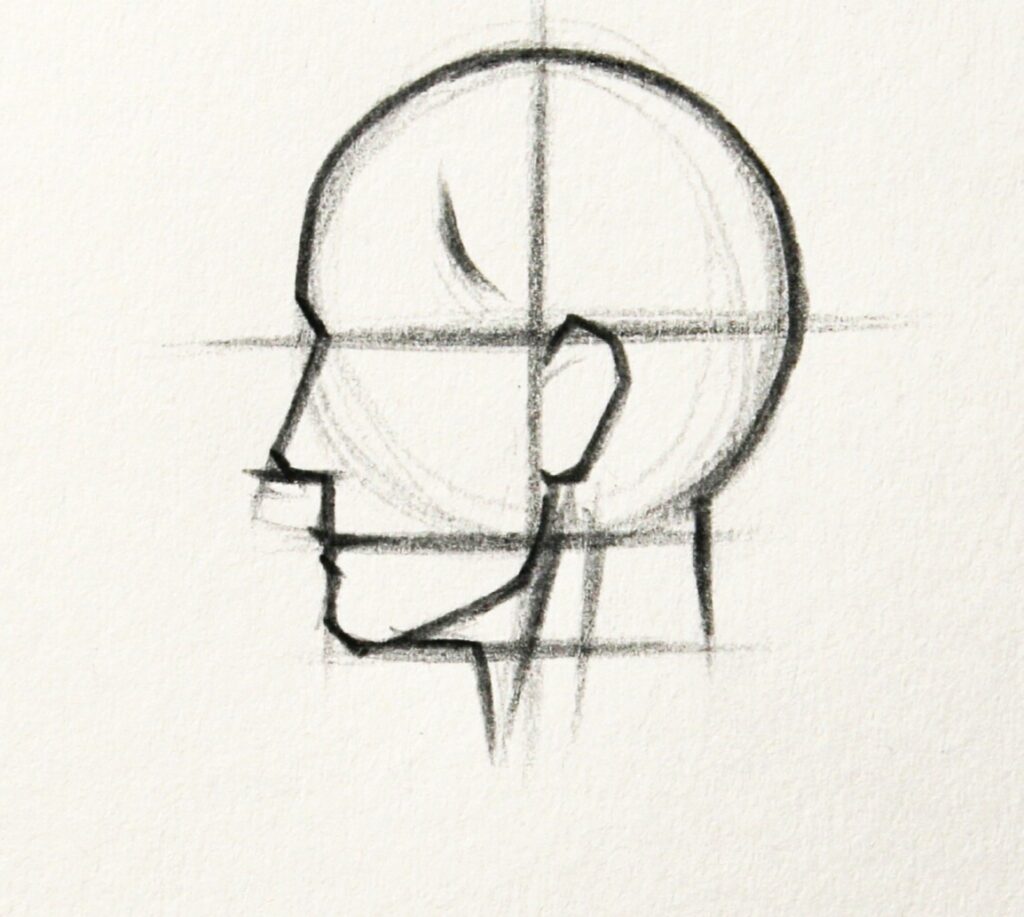
5.Define the Jawline: Extend a slightly curved horizontal line from the circle’s bottom, forming the chin & the jawline.
6.Finalize and Erase: Go over your final lines, making them darker and more defined. Erase any unnecessary guidelines to clean up the drawing.
Keep practicing, and soon you’ll be able to draw heads with ease.