How to draw a Leg step by step easy | Leg Drawing tutorial for beginners
Leg Drawing Tutorial step by step
Drawing a leg is a fundamental skill in art, and you can do it well with practice. Follow these steps and enjoy the process. Take your time!
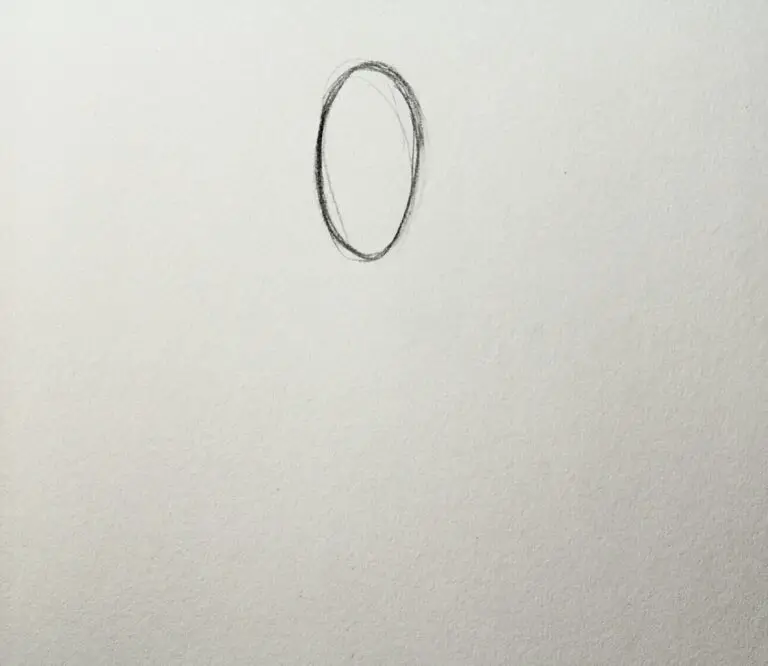
Step 1 : To draw a leg, start with simple shapes. Draw a big oval to represent thigh. These ovals will form the foundation of the leg.
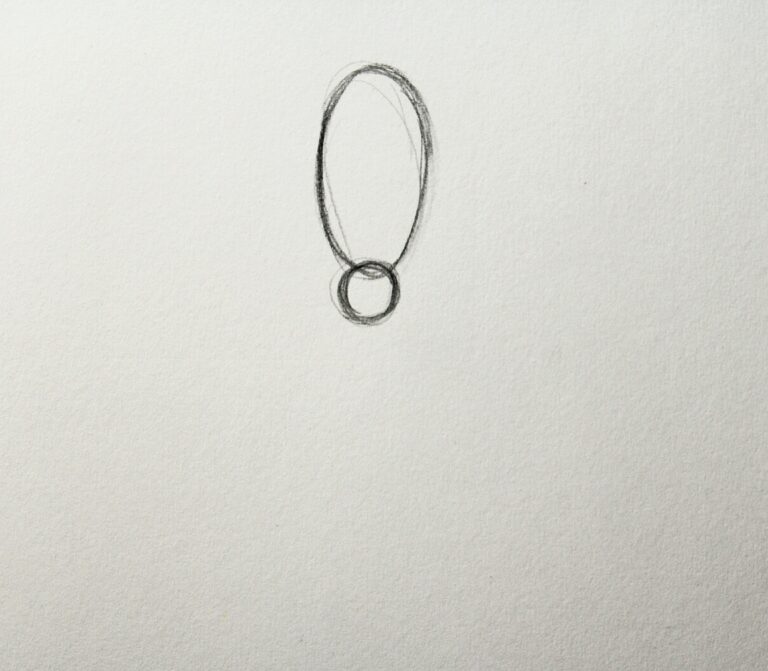
Step 2 : Indicate the knee by drawing a small circle or oval overlapping the thigh’s oval shape.
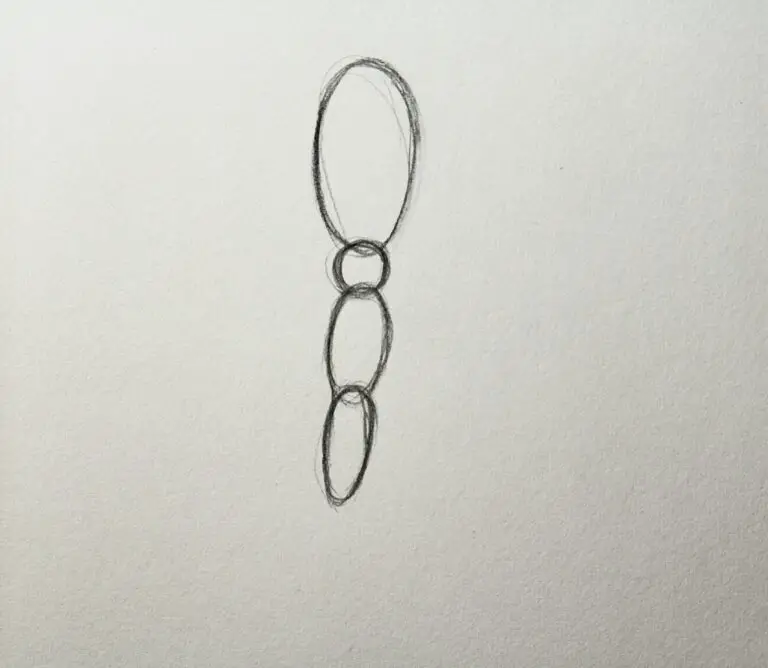
Step 3 : Now below the knee circle draw two oval shape sketches, representing the calf & lower portion of the leg. The thigh’s oval should be bigger than the calf’s.
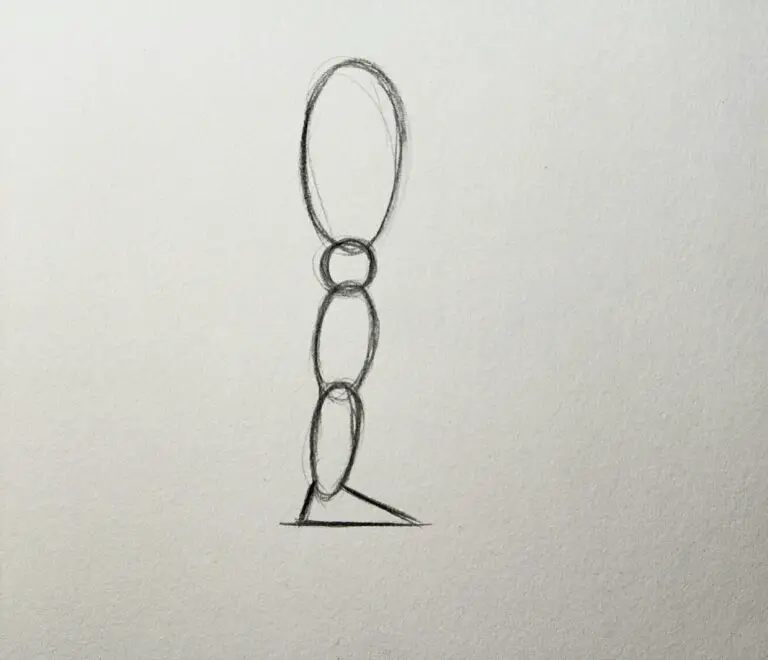
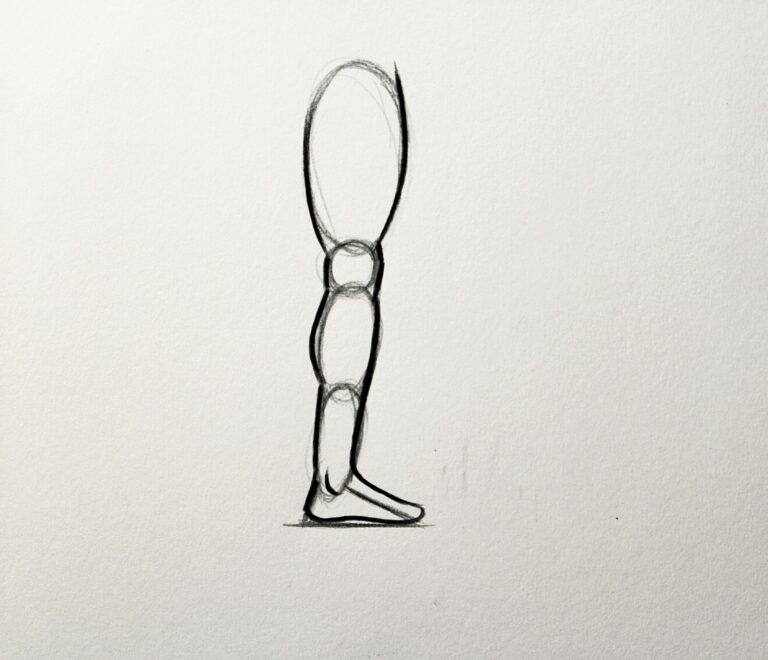
Step 4 : Then, below the lower oval, draw a triangular-like shape for the foot.
Step 5 : Next, join the two ovals using smooth, curving lines to shape the leg. These lines will form the contours of the leg. The top line curves inside to make the thigh, and the bottom line curves outward for the calf. Refine the foot’s shape by adding more details. Keep the toes pointing slightly upward. Connect the front of the foot to the heel with a curved line.
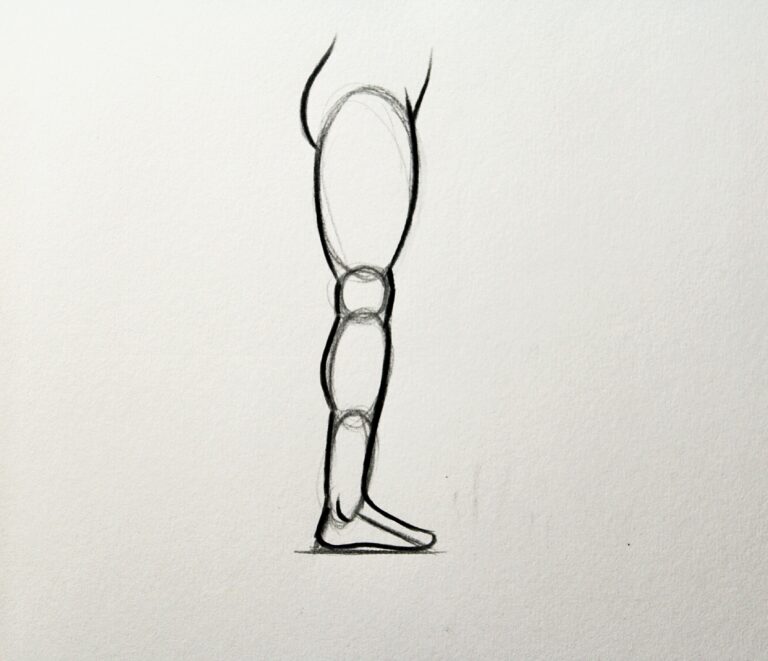
Step 6 : Use darker lines to trace over your sketch, forming the leg’s final outline. Draw smoothly, following the leg’s curves and contours carefully. You can add additional curved lines that connect the thigh part of the leg to represent the gluteal muscles, which are the muscles located in the buttocks area. By doing this, you can add more detail and realism to the leg, making it appear more lifelike and well-defined.
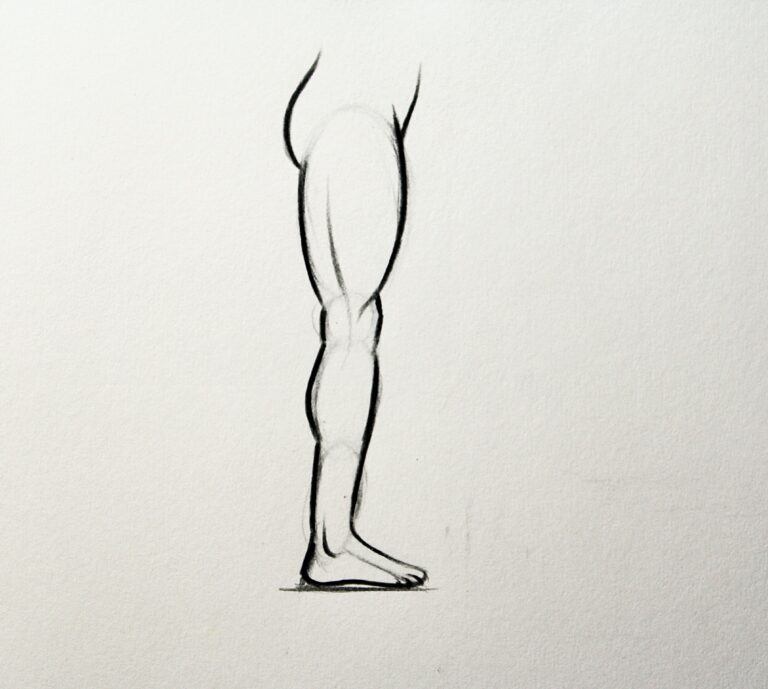
Step 7 : Gently remove any unnecessary guidelines and shapes, keeping the leg outline clean and neat.
By following these steps, drawing a leg will become easier for you. Practice regularly and try new things to improve your drawing skills even more. Keep exploring your artistic talents and enjoy the process!