How to draw with Graphite Pencils
Using pencils with graphite is a great way to make pictures look real and full of details. Let’s elaborate on each step to provide more detailed guidance for drawing with graphite:
Gather Your Supplies:
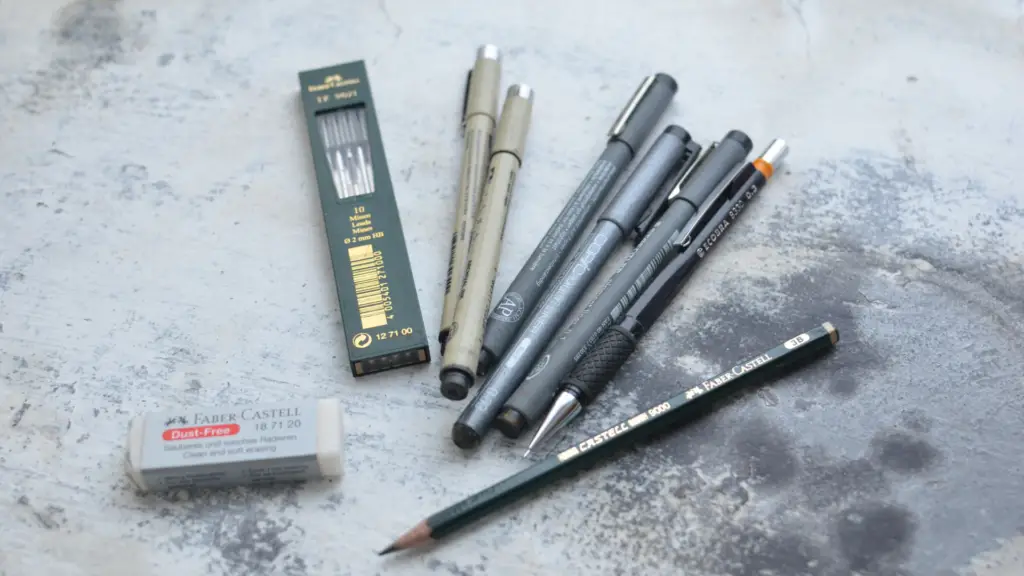
Drawing with graphite begins with assembling the essential tools. Collect a set of graphite pencils with varying levels of hardness, ranging from 6B (soft) to 6H (hard). Additionally, obtain high-quality drawing paper that is smooth and sturdy, an eraser (preferably a kneaded eraser for precision), and a reliable pencil sharpener.

Set Up Your Workspace:
Creating a conducive environment is crucial for a focused drawing session. Find a good spot with lots of light. Use a lamp if you need to. Make sure your table or board is steady and comfy for drawing for a long time.
Choose Your Pencil:
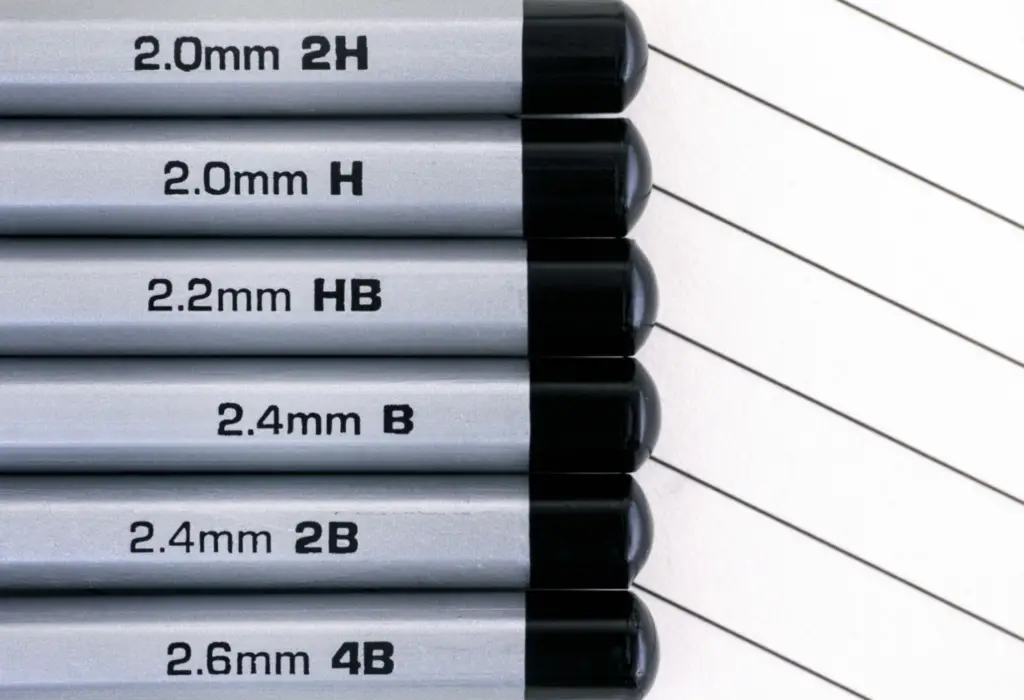
Graphite pencils come in different grades, from soft to hard. Soft pencils (like 6B or 8B) create darker lines, while hard pencils (like 2H or 4H) make lighter lines. Begin with an HB pencil, which offers a balanced combination of hardness and softness. As you progress, experiment with different grades to understand their unique characteristics.

Hold the pencil right:
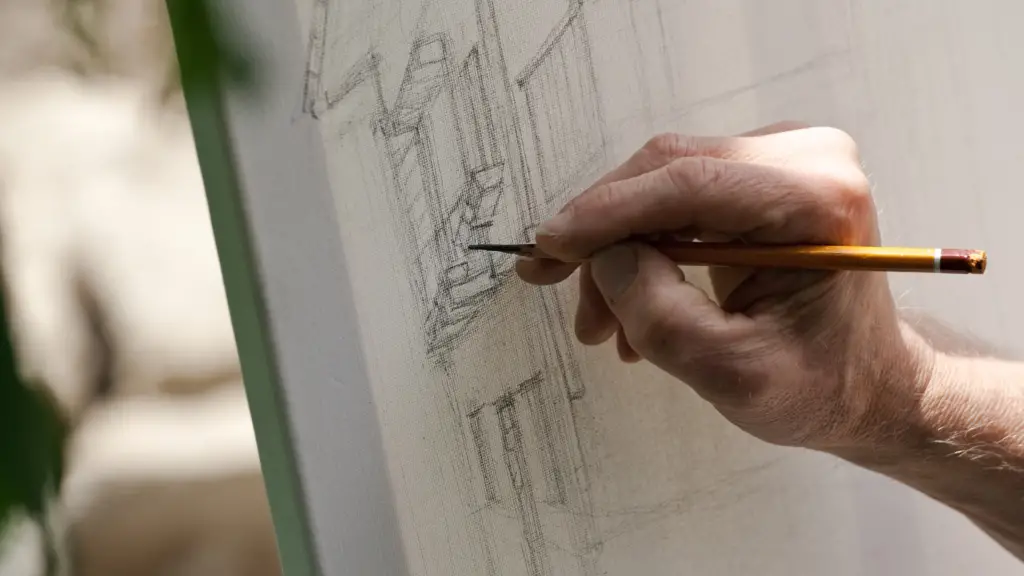
Adopting the right grip on the pencil enhances control and precision. Hold it gently, not too tight. This helps you move smoothly while you draw. If you squeeze it too hard, it might be harder to draw.

Practice Making Lines:
Learn how to make lines by pressing harder or lighter with your pencil. Soft touches make light lines, while pressing harder makes darker lines. Practice different types of lines to get used to your pencil.
Use Shading Techniques:
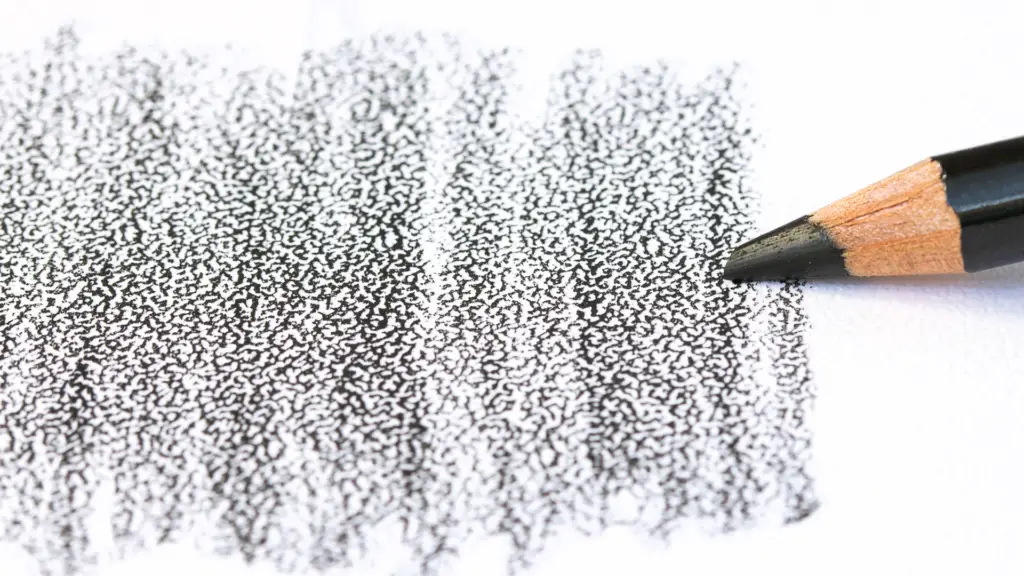
Shading introduces depth and dimension to your drawing. Use the side of your pencil for smooth shading. Lightly color for light shadows, press harder for dark ones. This gives different tones to your drawing.

Begin with simple shapes:
Start your drawing by making basic shapes that look like the main parts of what you’re drawing. Use circles, squares, triangles, and ovals as a starting point for your detailed picture.
Blend with Your Finger or a Tortillon:
To achieve seamless transitions between different shades, consider using your finger or a blending tool called a tortillon. Gently smudge the graphite to create a soft, cohesive appearance.
Fix mistakes with an eraser:
It’s okay to make mistakes when you’re drawing. Use an eraser, especially a soft one called a kneaded eraser, to clean up edges, remove extra pencil marks, and make small changes.
Getting really good at drawing with pencils takes time and practice. Don’t rush it. Keep learning and be patient with yourself. You’ll become a better artist over time.
