Object Drawing Tutorial Easy with Pencil Shading | How to draw an open Box
Object Drawing Tutorial Easy with pencil Shading | Learn to draw an Open Box
This is a simple step by step tutorial to draw an open cardboard box. Follow these steps using simple shapes and lines:
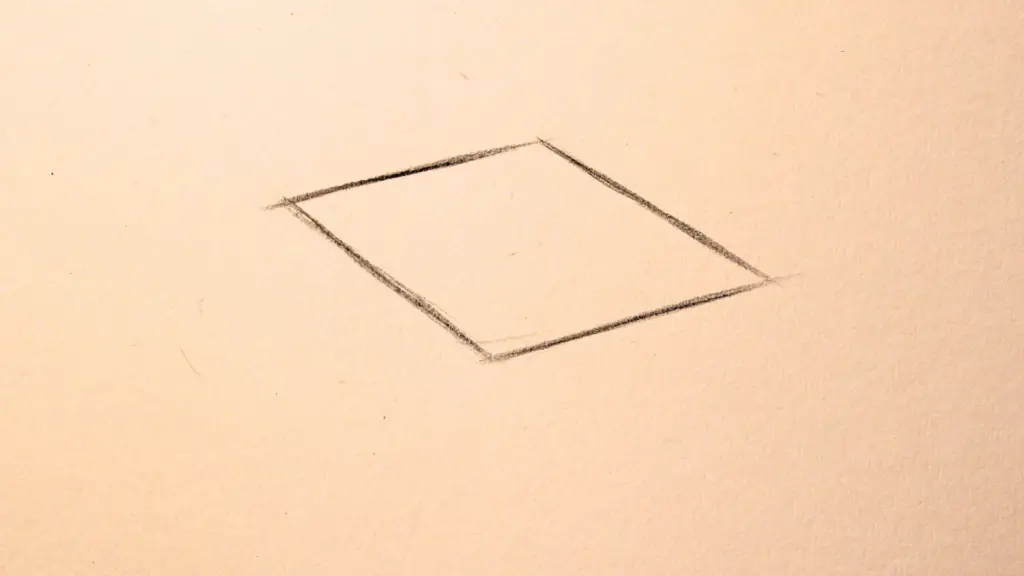
1.Start with the Base: Begin by drawing a rectangular shape to form the base of the cardboard box. This rectangle represents the bottom part of the box.
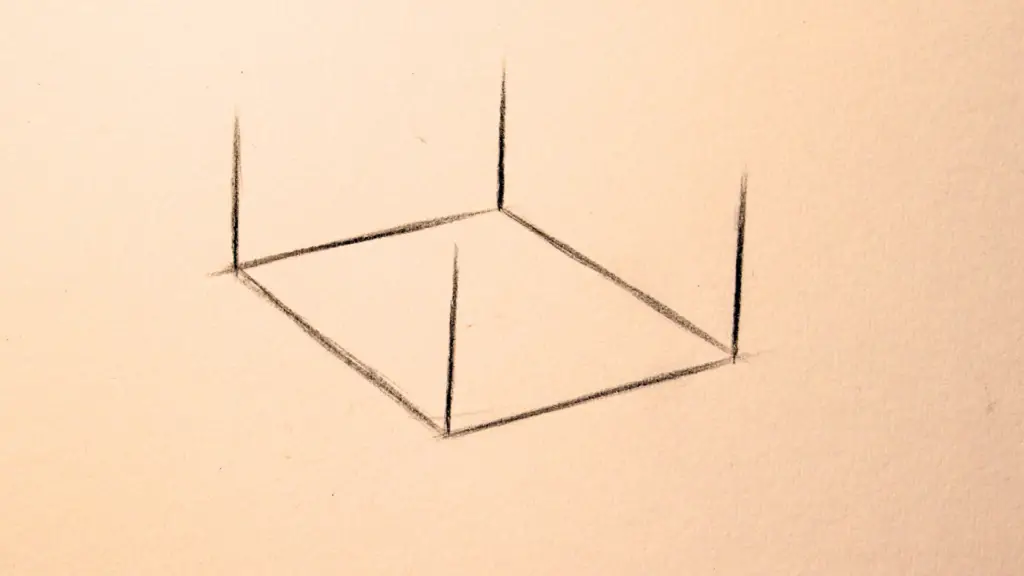
2.Draw the Corner Lines: Follow the edges of the rectangles to draw the corner lines. Extend these lines from each corner of the base up to the top. These lines represent the box’s corners and provide a three-dimensional look.
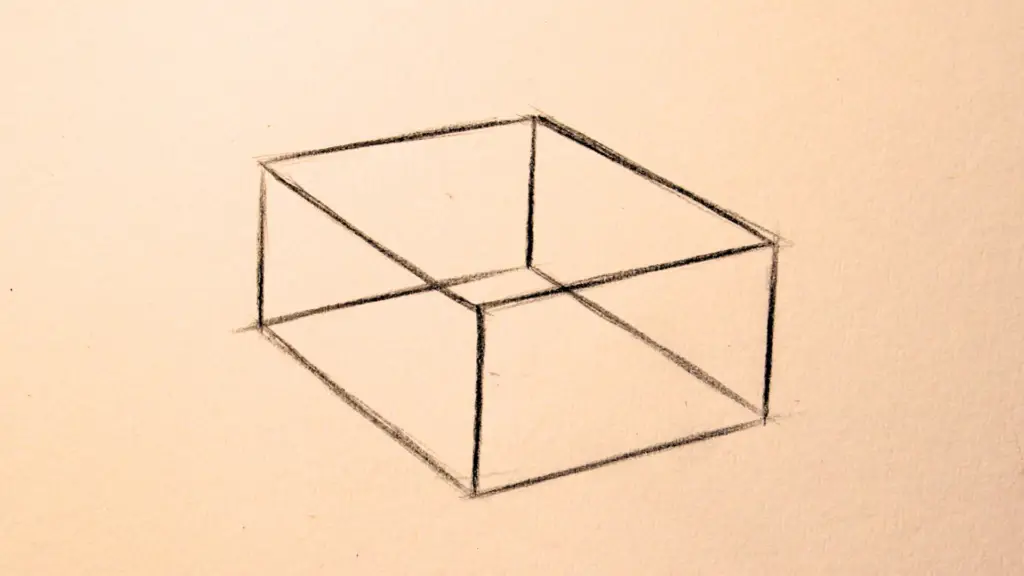
3. Add Another Rectangle for Sides: To create the sides of the box, add another rectangle touching the top part of the corner lines. This rectangle connects the corners of the side rectangles, completing the structure.
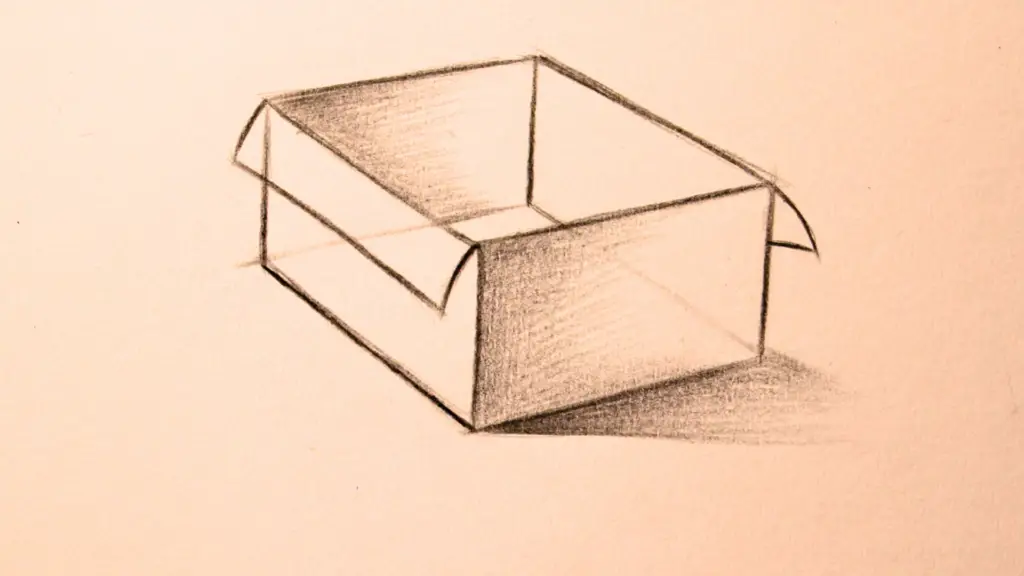
4.Create the Flaps: To depict the open nature of the box, draw two smaller rectangles extending from the top side of the base. These rectangles represent the flaps that are folded back, revealing the box’s interior.
5.Shading for Light Source: Shade the front side of the box and the interior to depict a light source. Use simple shading on the side facing the light. This creates a contrast with the shaded areas.
6. Ground Shading: Add shading on the ground beneath the box to create a light and shadow effect. This helps ground the box and adds to the overall realism.
7.Review and Refine: Take a moment to review your drawing. Refine any lines or details to ensure the shading enhances the realism of the box. Adjustments can be made to achieve the desired appearance.