Simple Drawing Ideas for Beginners | How to draw a Glass step by step Easy Tutorial
How to draw a Glass step by step
Drawing a glass is a fun art project that lets you practice various shapes. All you need are paper, pencils, an eraser, and optionally, colored pencils or markers. This simple guide will show you how to draw a glass using basic shapes and shading techniques. Let’s get started!
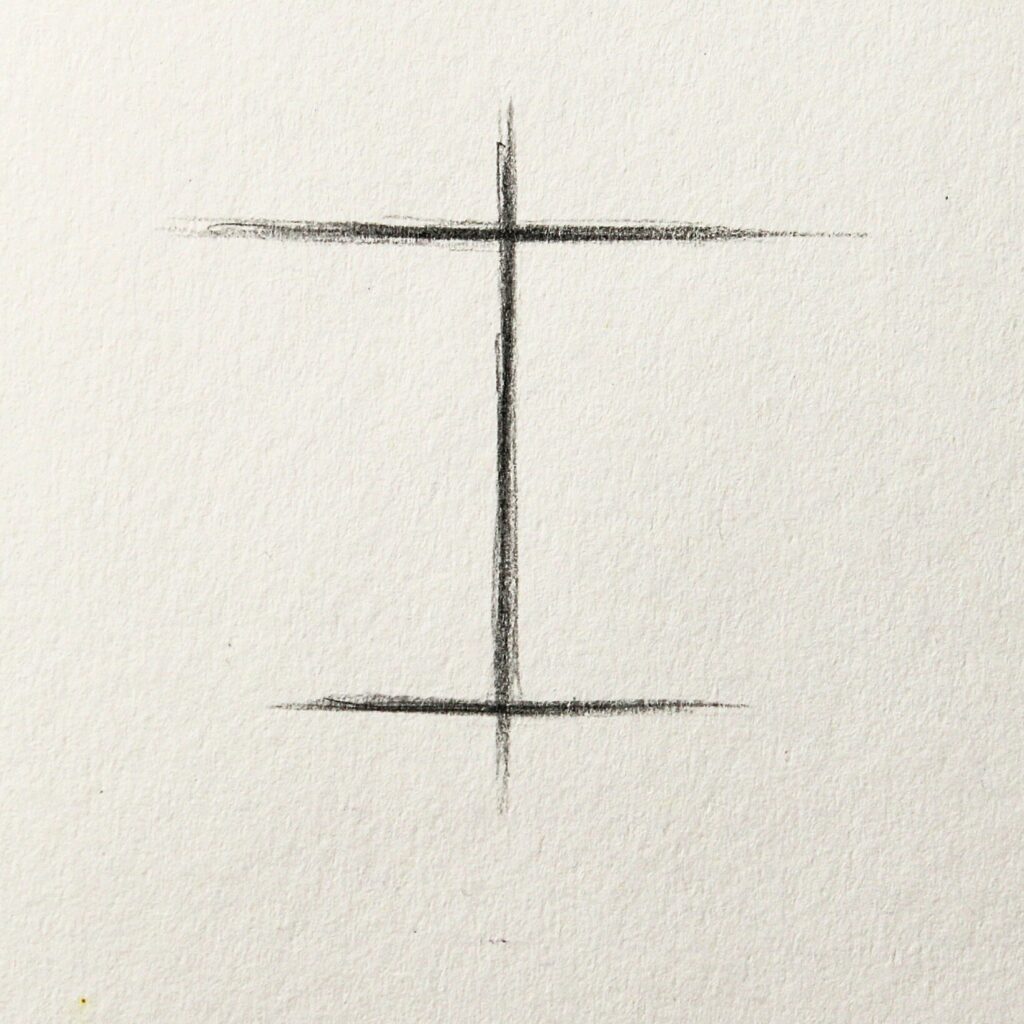
Step 1: Begin by drawing a straight vertical line. This line will serve as the central axis of the glass. Make sure the line is a bit taller than how tall you want the glass to be. At the top of the vertical line, draw a horizontal line.This line shows the shape of the glass’s top edge, known as the rim. Near the end of the vertical line, draw another horizontal line. This line forms the base of the glass.
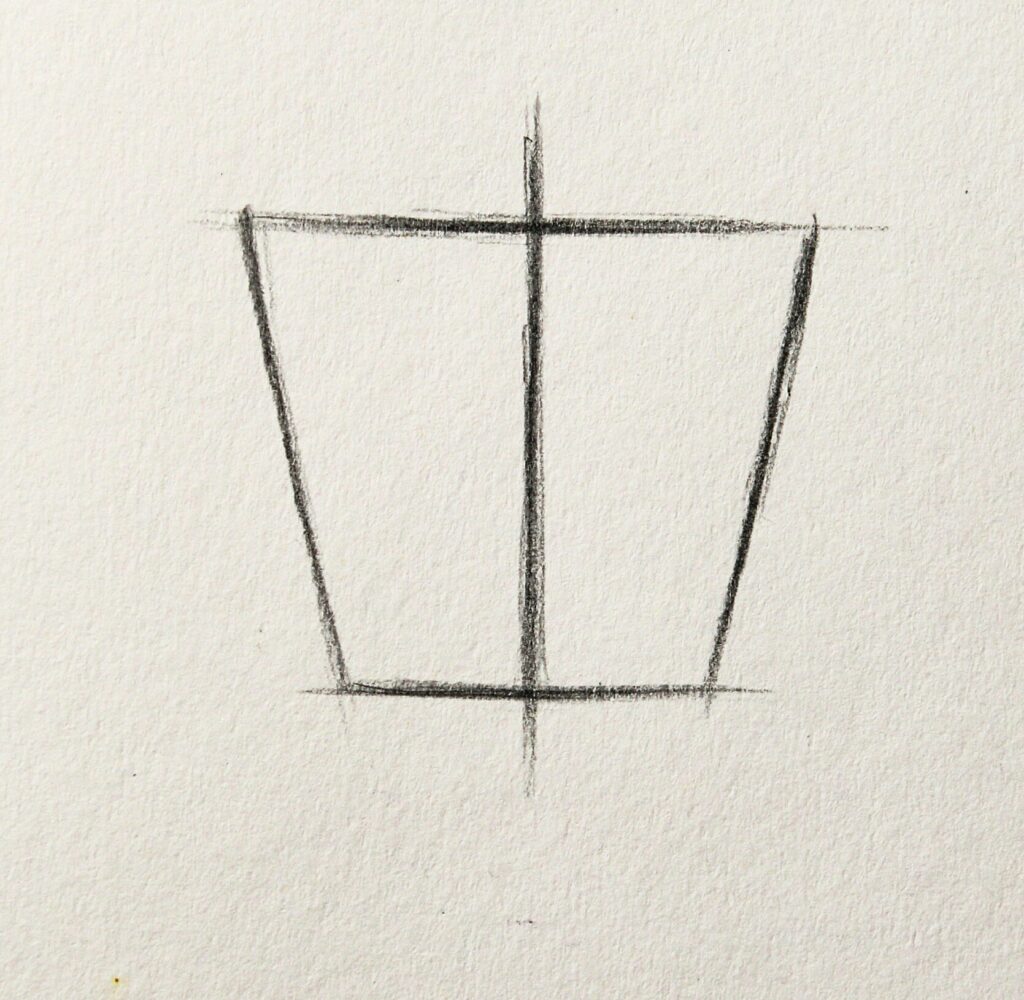
Step 2 : Draw two straight lines curving outward from the sides of the vertical line, creating the glass’s shape. Make sure they’re parallel to each other. These lines give the glass a three-dimensional look.
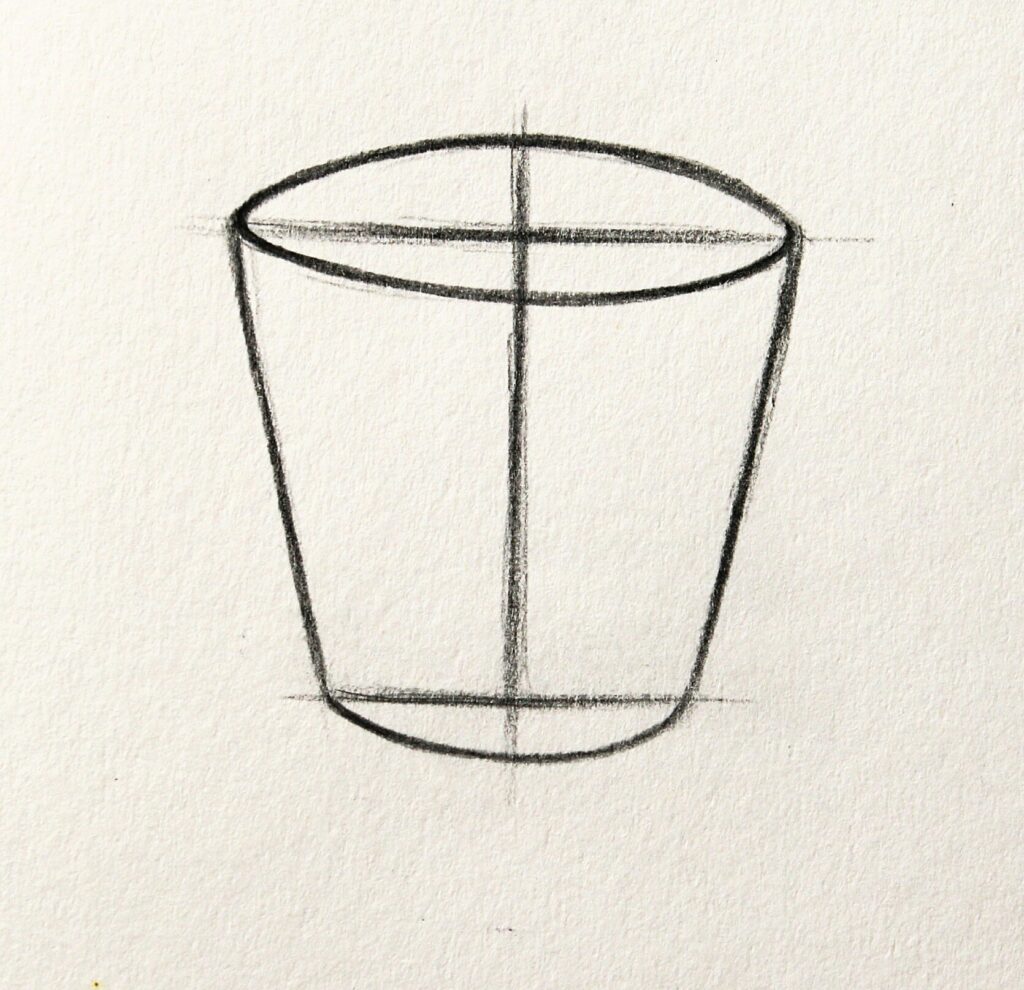
Step 3 : Using the horizontal line as a guide, sketch a slightly curved line on top of it & another curved line downwards as shown in the figure. These curved lines forms the rim of the glass, adding a realistic touch to your drawing. Beneath the horizontal line, draw another line curving gently upwards. This creates the base of the glass, completing its shape.
Remember, using horizontal and vertical lines as a base simplifies the drawing process, especially for beginners. With practice, you’ll be able to refine your technique and create more detailed and accurate drawings of glass objects.