How to draw a Basic Cylinder step by step Tutorial | Cylinder Shape Drawing Shading
How to draw a Cylinder step by step
Drawing a cylinder shape is easy if you use basic shapes and lines. Here’s a step-by-step guide on how to draw a cylinder shape :
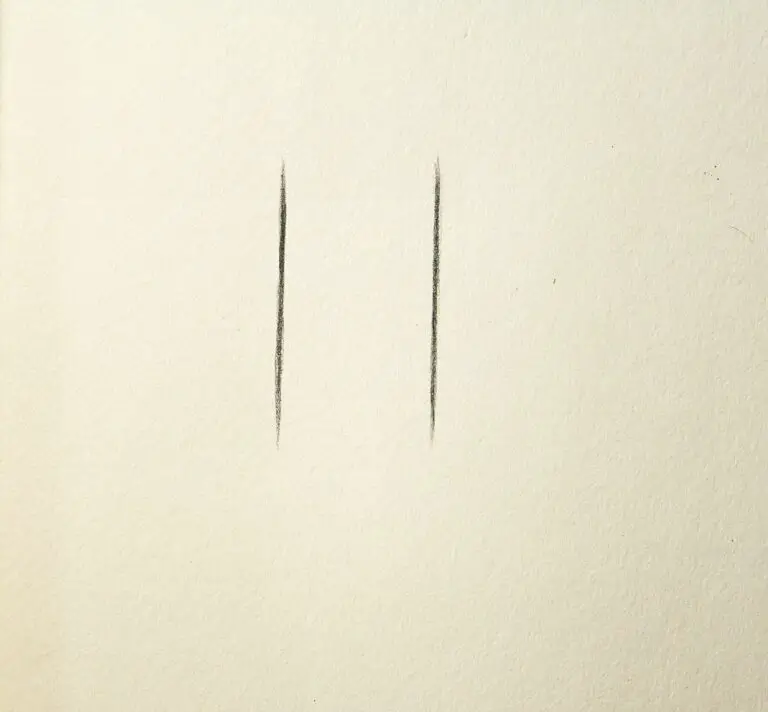
Step 1 : Start by drawing two vertical lines, parallel to each other and of equal length. These lines will be the height of your cylinder.
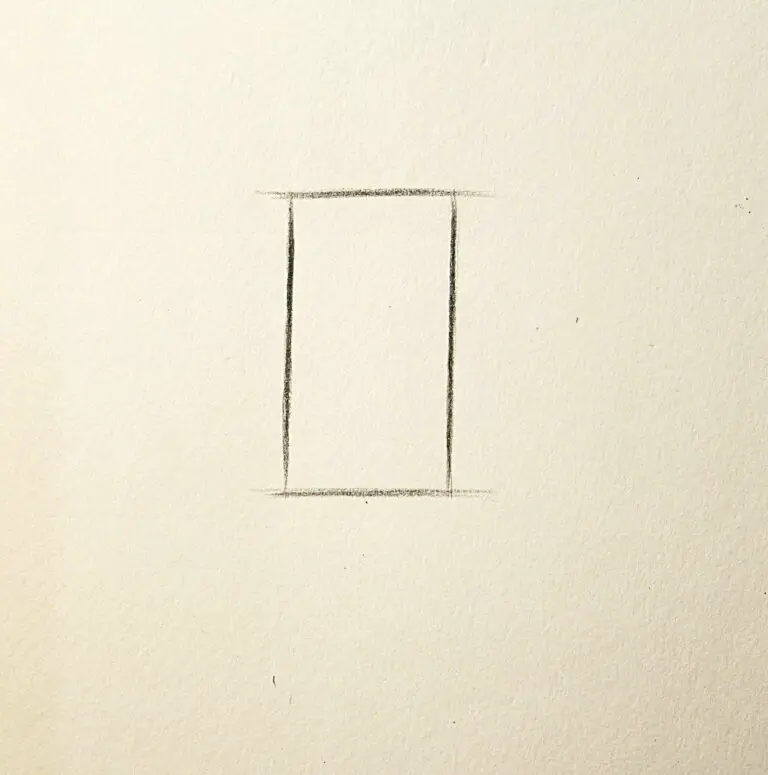
Step 2 : Connect the top and bottom end of vertical lines with two horizontal lines to represent top and bottom end of the cylinder.
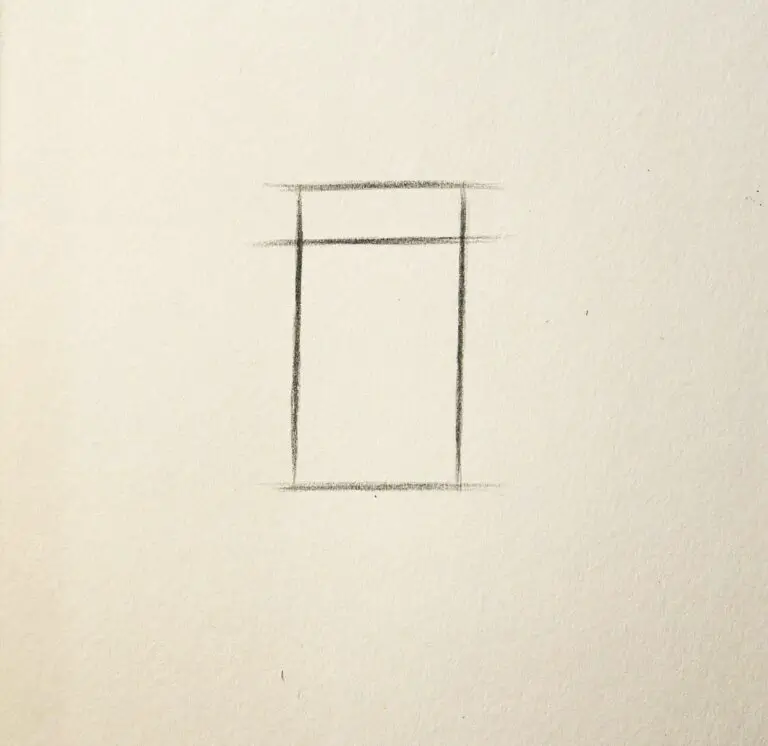
Step 3 : Draw another straight line parallel to the top horizontal line to form the base for the top surface of the cylinder.
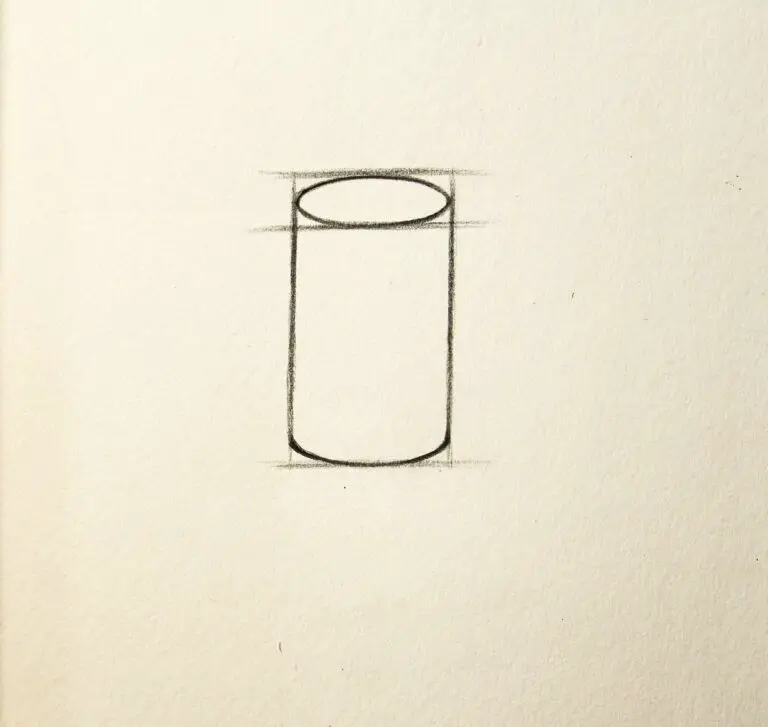
Step 4 : Connect the top ends of the vertical lines following the horizontal lines with a curved line, forming the top surface of the cylinder. Now, Connect the bottom ends of the vertical lines with a curved line slightly above the base horizontal line to represent the bottom surface of the cylinder. Erase any unnecessary lines or overlap.
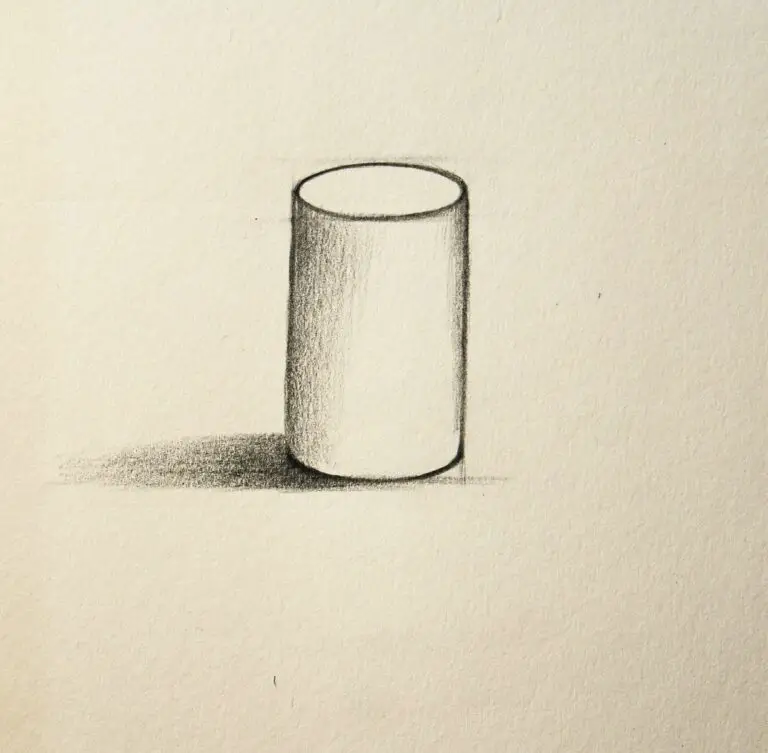
Step 5 : Finally, add shading to your cylinder to make it appear more three-dimensional and realistic. Find out where the light is coming from, and make the opposite side of the cylinder darker. You can use lines or shading methods to create this effect.
By following these straightforward steps, you can easily draw a cylinder shape. Practice and patience will help you improve your drawing skills over time.