Try this Simple Method to draw lips in Very Easy Steps | Drawing lips/lip for beginners tutorial
How to draw lips easy step by step Drawing lips/lip for beginners
Welcome to the lip drawing tutorial! In this easy guide, we’ll learn how to draw lips step-by-step. Drawing lips may seem challenging, but with practice, you’ll master it. Whether you’re a beginner or an experienced artist, this tutorial will help you create realistic and expressive lip illustrations. Let’s get started ;
Materials required : HB Pencil for drawing basics & 2B Pencil for detailing work
Follow below mentioned step by step process to draw lips
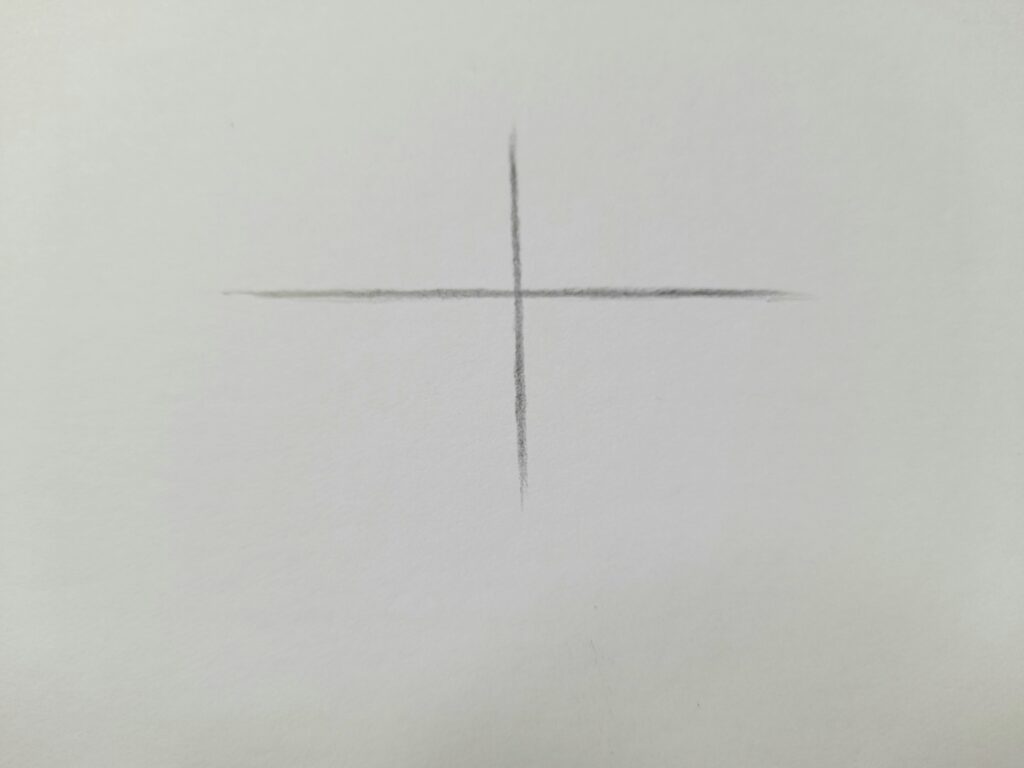
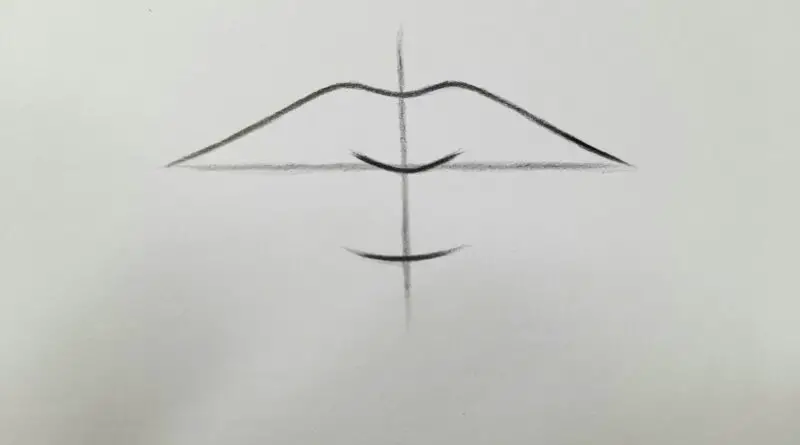
STEP 1 : Draw a horizontal and vertical straight lines crossing each other in the centre. As these are just basic lines, do not put much pressure on the pencil while drawing them.
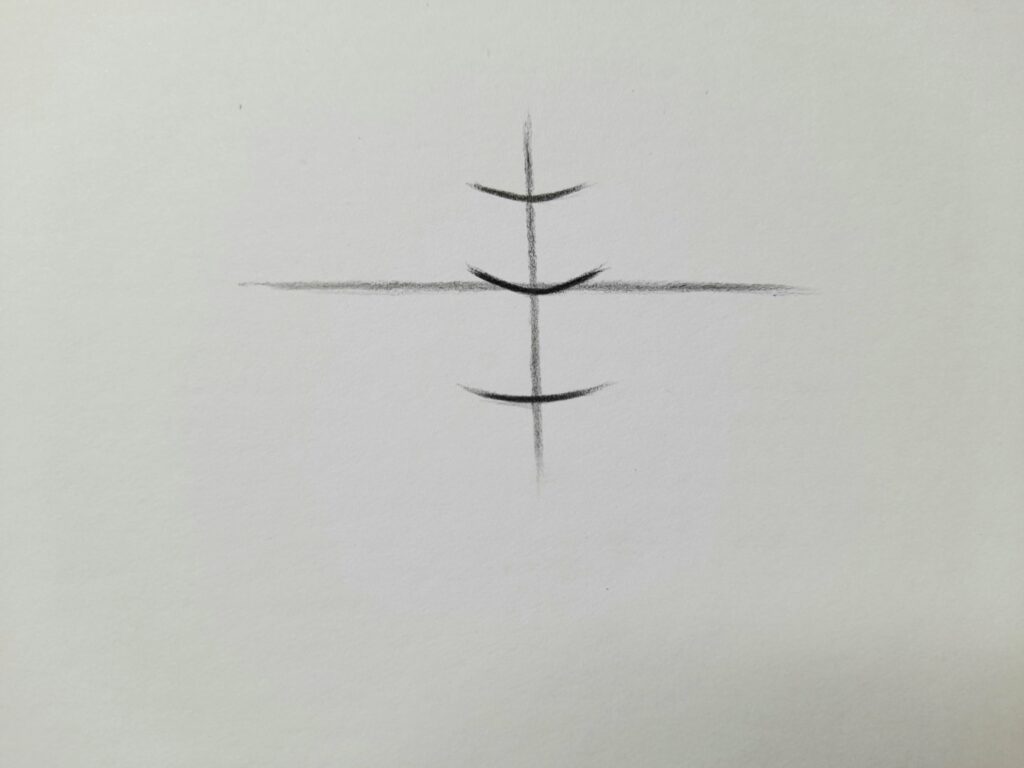
STEP 2: Next step is to draw three ‘U’ shaped small curves on the vertical line as shown in the figure.
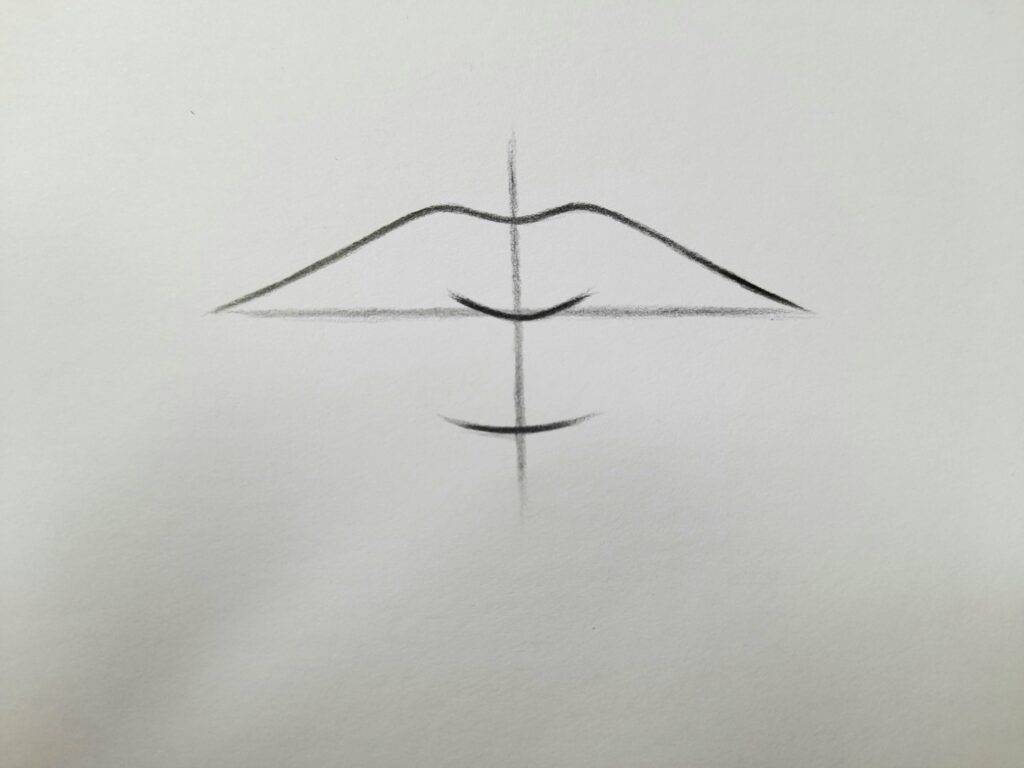
STEP 3 : Now draw the outline for the upper lips. Following the curved shape, draw this line on the right and left of the vertical line.
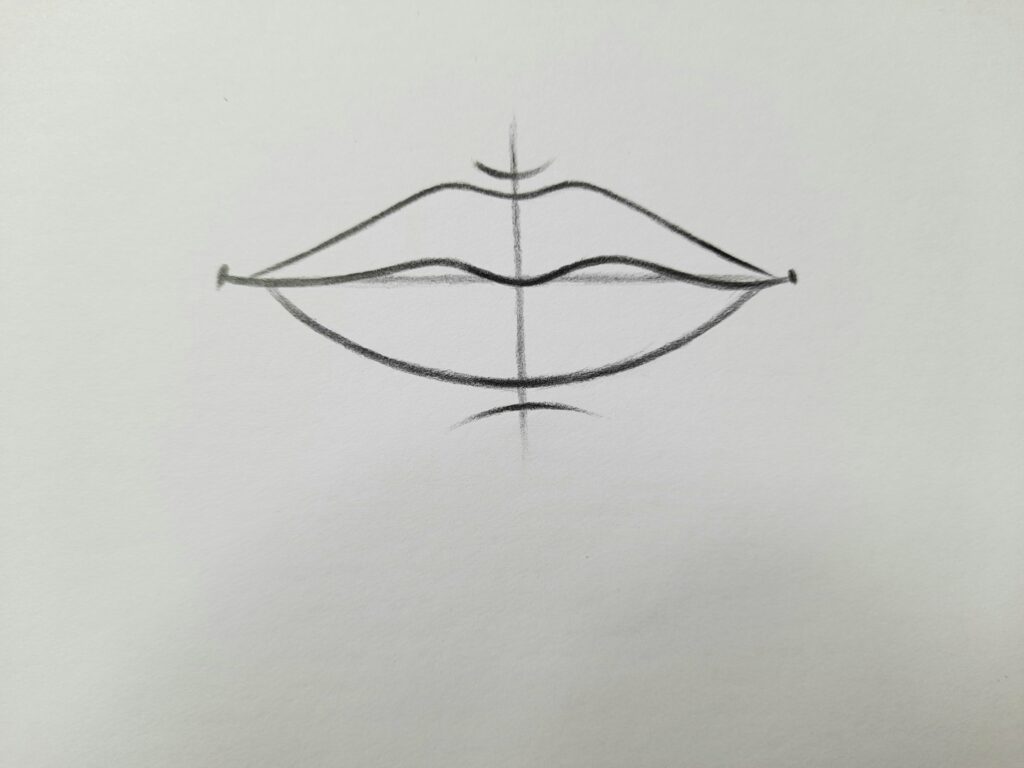
STEP 4 : In the center of the top and bottom lips, draw a gentle curve to represent the middle line. This line will help you shape the middle portion accurately. On both ends of the horizontal line, add short, curved lines to represent the corners of the lips.
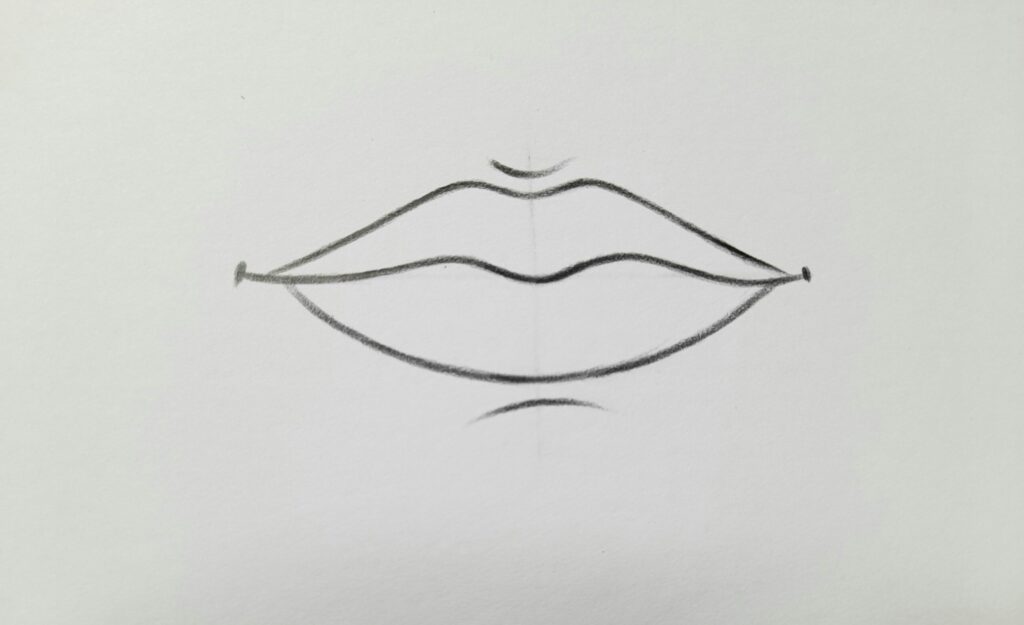
STEP 5 : Below the horizontal line, draw another softly curved line to create the bottom lip. It should be slightly thicker than the top lip.
STEP 6 : efine the lip illustration by carefully erasing the basic shapes, allowing the natural contours of the lips to emerge.
Now we have successfully drawn the lips.
By looking closely at real lips and carefully studying their different shapes and details, you can improve your lip drawings, making them more lifelike.