How to draw Lips(Side View) step by step Lips drawing tutorial for beginners
How to draw Lips(Side View) step by step Lips drawing tutorial for beginners
Drawing lips from a side view may seem tricky, but with step-by-step instructions, you can create realistic and expressive lip illustrations. Let’s get started:
Materials Required : HB Pencil for Basics & 2B for drawing details
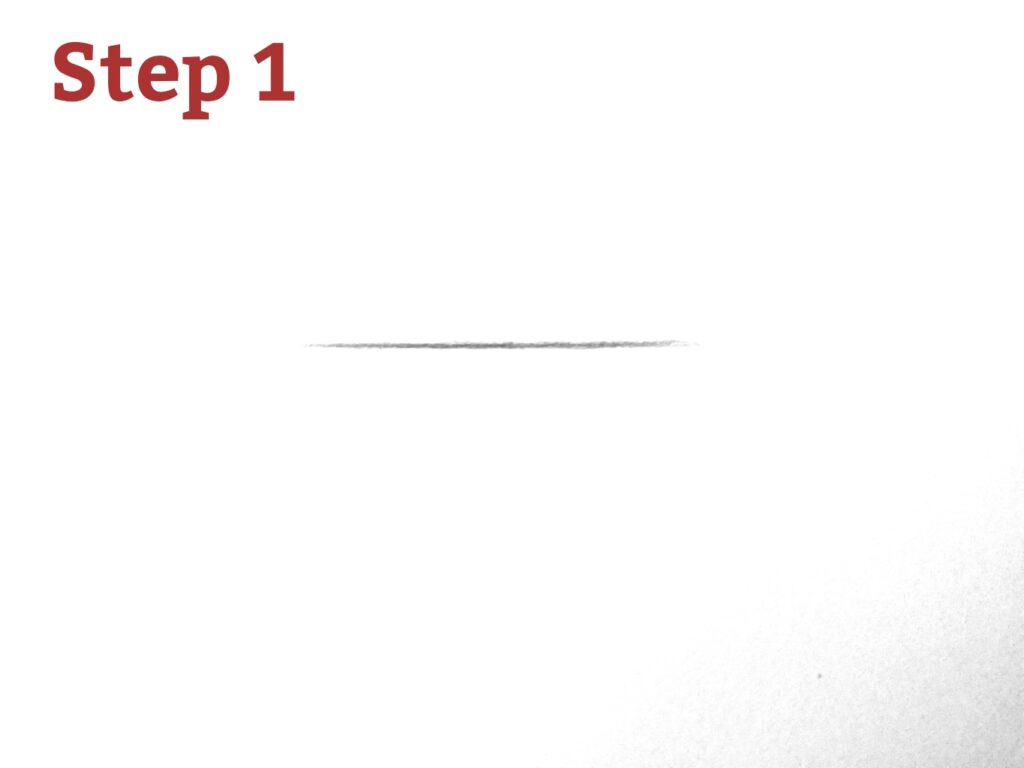
STEP 1 :Begin by drawing a horizontal straight line using HB pencil. This line will serve as the base for the lips.
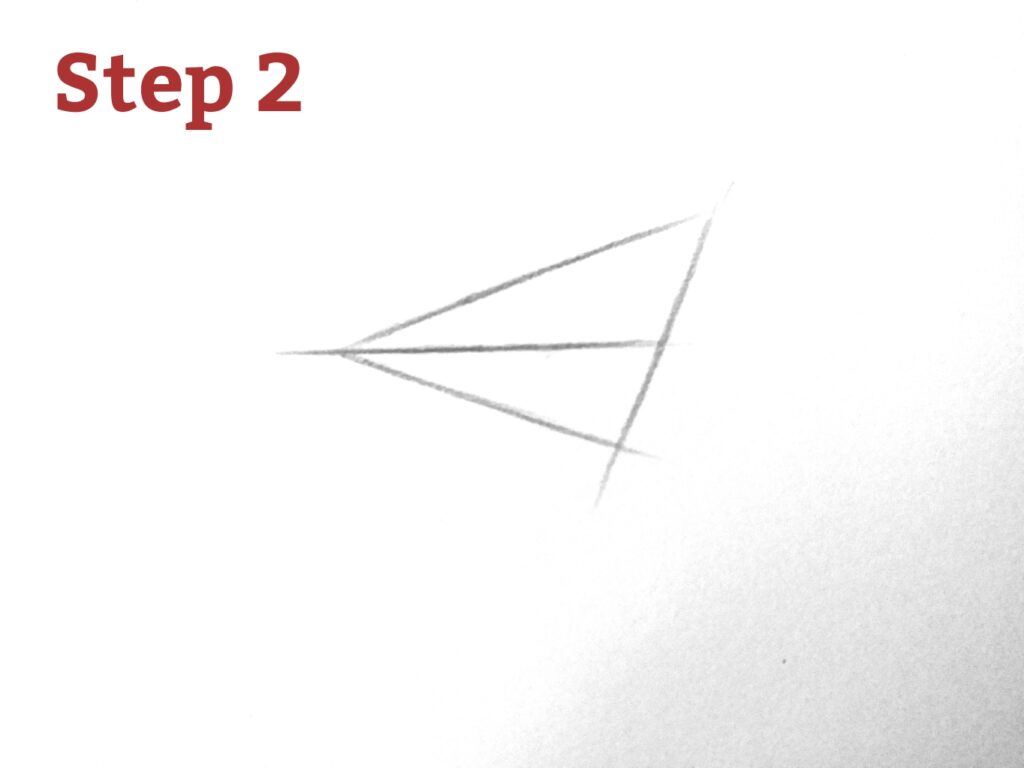
STEP 2 : Following the horizontal lines draw, draw two lines representing top and bottom lip area as shown in figure. Connect the ends of these lines to complete the lip outline.
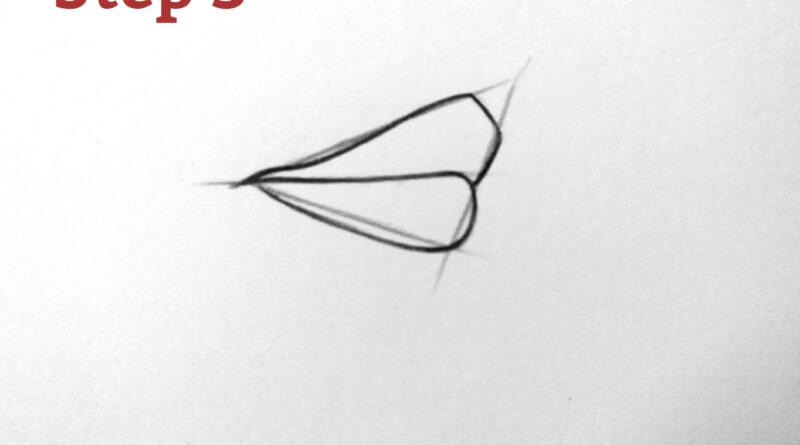
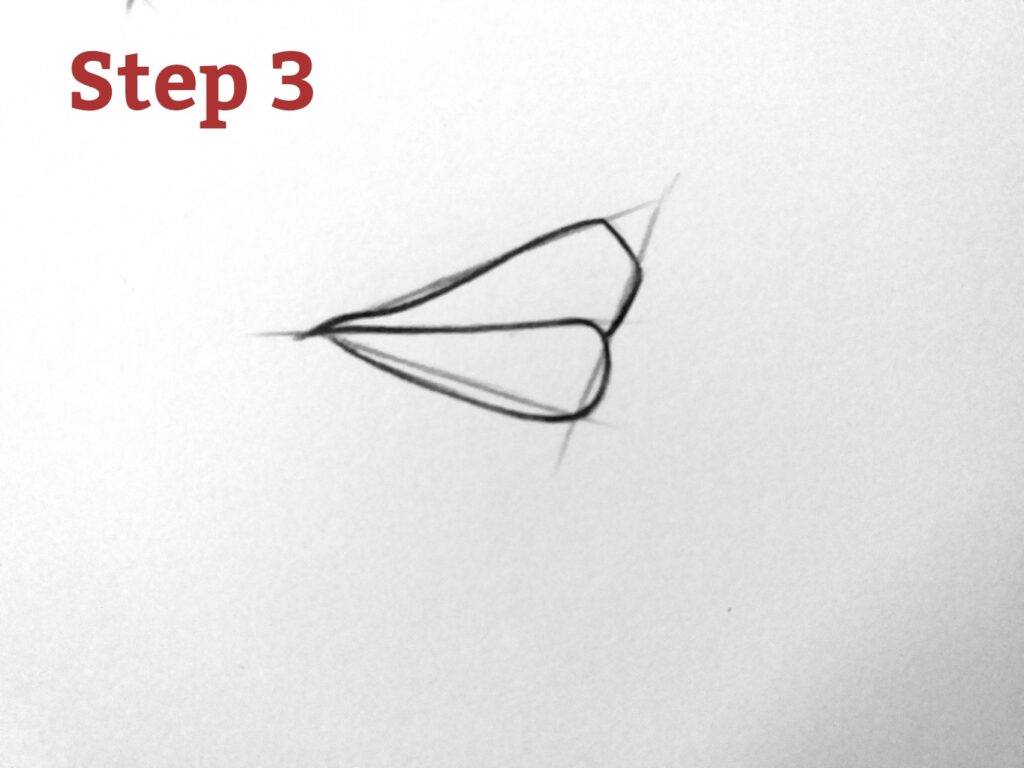
STEP 3 : Now by following the basic lines, try to get the curved shape of the lips. Use 2B pencil now. To create the upper lip, draw a small, slightly curved line that connects the top line at the center. Below the horizontal line, draw another softly curved line to create the bottom lip. It should be slightly thicker than the top lip. After completing the outline with 2B pencil, now erase the basic lines.
Take your time to perfect the lip shape, using soft lines to add more realism. Focus on getting the curves and proportions just right, as they play a crucial role in creating lifelike lips. Pay attention to the details, and with each stroke, you’ll see your lip illustration come to life.