
How to draw an Arm Easy with Pencil step by step | Very Basic Arms drawing lesson for beginners
How to Draw an Arm Easily : A Step-by-Step Guide
Drawing arms can make your art look more realistic and engaging. Understanding how to show the details and movement of an arm will improve your drawings of people. This guide will help you learn to draw arms in a simple way.
We start by sketching the basic shape of the arm. To make this easier, we’ll break down the drawing into simpler shapes. Using circles to draw the arm helps you understand its proportions and structure better. Always use a light pencil (HB) when drawing these basic shapes.
Materials Needed
HB Pencil: Ideal for sketching basic shapes.
2B Pencil: Useful for adding darker lines and details.
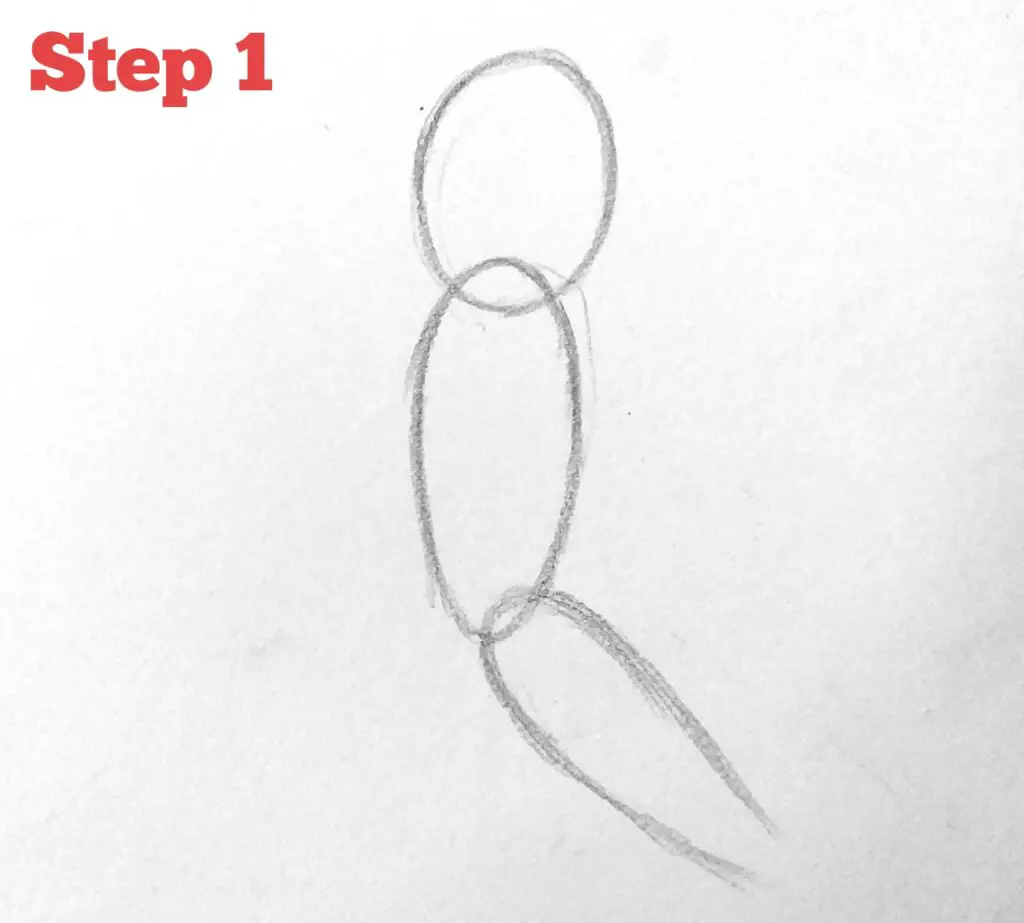
Step 1: Outline the Basic Shapes
Start by using your HB pencil to lightly sketch the outline of the arm. Begin with the basic shapes that represent different parts of the arm. Draw an oval or rectangle for the upper arm, and another shape for the forearm. Don’t worry about details yet; just focus on getting the general proportions and placement right. Look at a reference image to help guide your drawing.
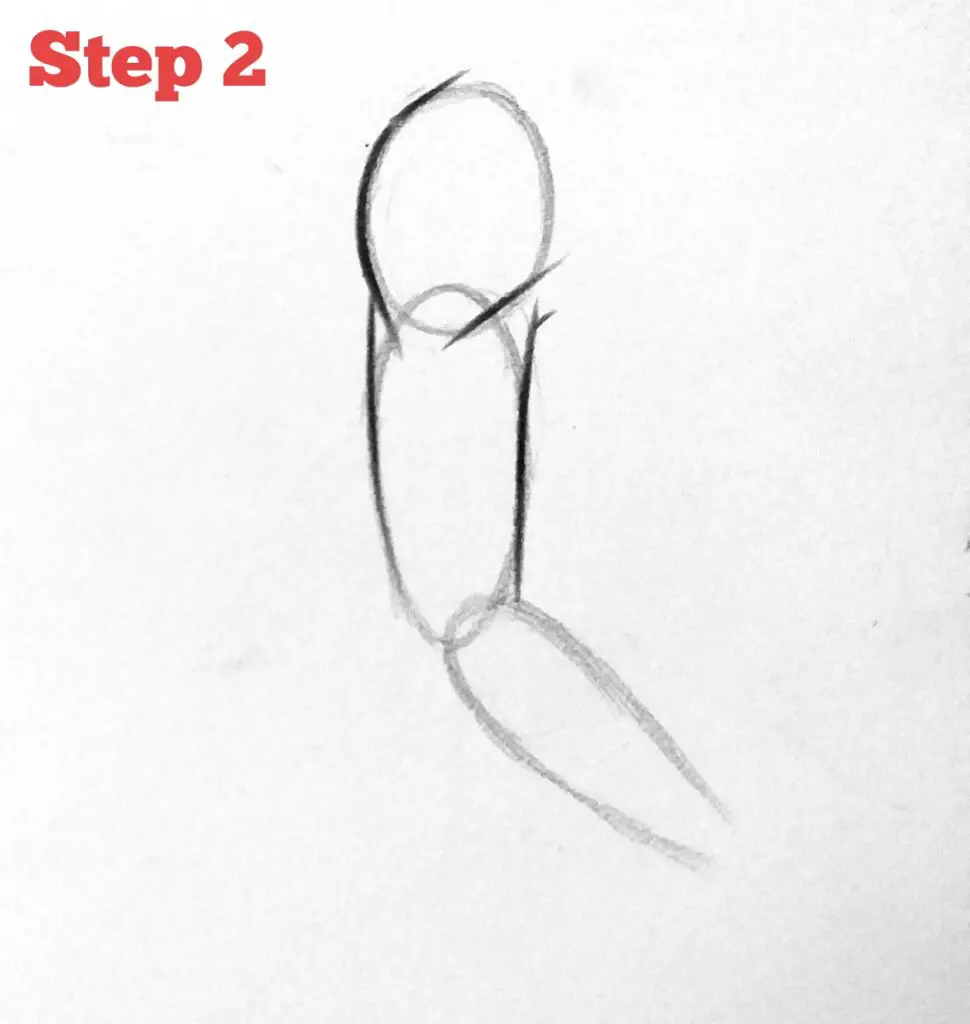
Step 2: Define the Shoulder and Biceps
Next, refine the basic shapes to form the shoulders and biceps. Use circles to represent the shoulder joint and biceps, and connect these shapes with lines to establish the arm’s proportions. The circles will help you understand the arm’s natural contours. Adjust the shapes so they more closely resemble the curves and muscles of the arm.
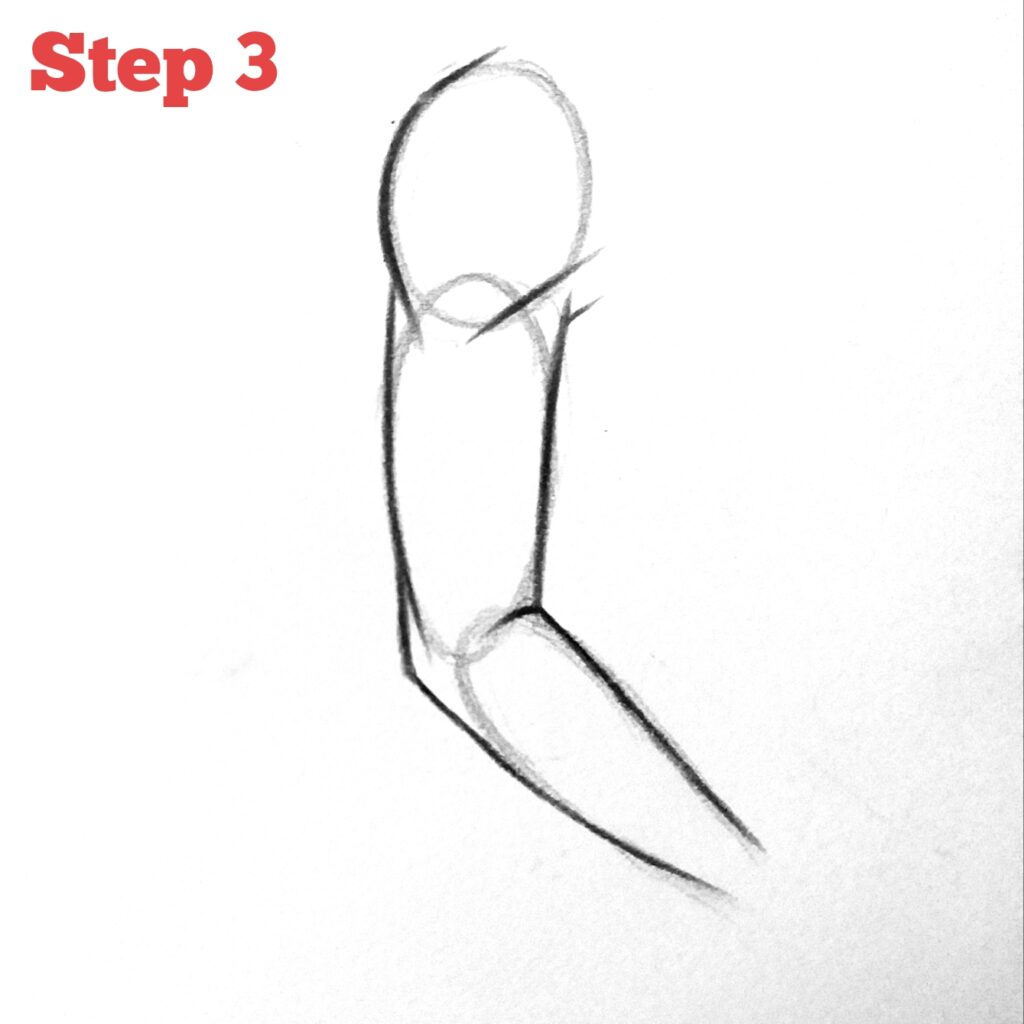
Step 3: Draw the Lower Arm and Elbow
Now, focus on the lower arm. Draw the elbow and forearm area using simple curves and lines. These will indicate where the muscles of the upper arm and forearm are. Use basic shapes to sketch out the biceps and triceps, then refine these shapes to add more detail. Add lines and curves to show the muscles and how they flow into each other.
Adding Details
After you’ve outlined the basic structure of the arm, switch to your 2B pencil to darken and highlight the arm’s main areas. This will help bring out the details and make the drawing more realistic. Pay attention to the muscle definition and contours, and darken these areas accordingly.
Clean Up and Final Touches
Carefully erase any unnecessary guidelines from your sketch. Leave only the main structure and the details you want to keep. This will clean up your drawing and make the arm’s features stand out more clearly.
Practice and Observation
To improve your drawing skills, practice often and look at real arms or photos for reference. Observing real-life anatomy will help you understand proportions and details better. Experiment with more detailed techniques as you become more comfortable with drawing basic arm structures.
Conclusion
Drawing arms can seem challenging, but breaking it down into simple steps makes it easier. By starting with basic shapes and gradually adding details, you can create more realistic and dynamic drawings. Keep practicing and studying real-life examples to enhance your skills and make your art more lifelike.
FAQs on How to draw Arms for Beginners
1.How do I start drawing an arm as a beginner?
Answer : Begin by sketching basic shapes like ovals and circles to outline the arm. Focus on getting the proportions right before adding details.
2. How to draw an arm with a pencil?
Answer : To draw an arm with a pencil, start with basic shapes like circles and ovals for joints and sections. Connect these shapes with lines. Refine the shapes to add muscle details. Use light strokes for sketching and darker strokes for final lines.
3. How to draw an arm easily?
Answer : To draw an arm easily, start with simple shapes like ovals for the upper arm and forearm, and circles for the elbow and shoulder. Connect these shapes with lines. Add details like muscle curves and shading. Use a light pencil to sketch and a darker one for finishing.
4. What basic shapes are used to draw an arm?
Answer : Use circles for joints and ovals for the upper and lower arm sections. Connect these shapes with lines to outline the arm’s structure.
5. How do I add details to the arm drawing?
Answer : After sketching the basic shapes, refine the lines to show muscles and contours. Darken important areas and add curves for realistic details.
6. What is the best way to learn arm anatomy for drawing?
Answer : Study real arms or reference photos. Observe how muscles and joints move to better understand arm anatomy and improve your drawing accuracy.
7. How do I make my arm drawing look more realistic?
Answer : To make Arm drawing look more realistic, focus on proportions, muscle definition, and natural curves. Practice shading and adding details to create depth and realism in your drawing.
8. What should I avoid when drawing arms?
Answer : Avoid drawing stiff or unrealistic shapes. Don’t skip the basic shape step, as it’s crucial for proper proportions and smooth lines.