How to draw a Torso Step by step Drawing tutorial | Figure drawing
How to draw a Torso
Figure drawing is the artistic skill of depicting the human body on paper. Drawing a torso requires specific steps to achieve accurate proportions and structure. Let’s explore a step-by-step approach to drawing a torso.
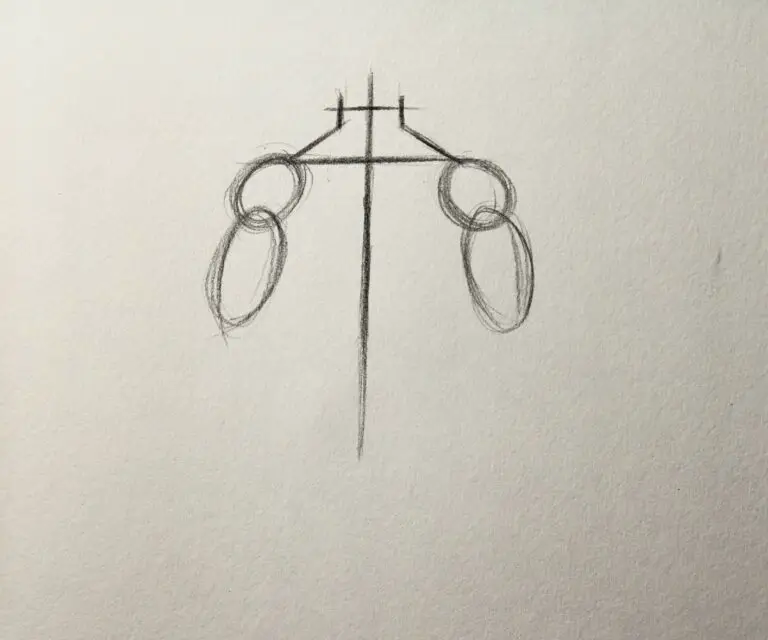
Step 1: Start by drawing a vertical line down the center of your paper. This line represents the spine. Extend two lines through the vertical line to represent the shoulders and neck area.
Step 2 : Then, sketch a basic rectangular shape or oval at the top of the Shoulder line to sketch shoulder part and upper arm.
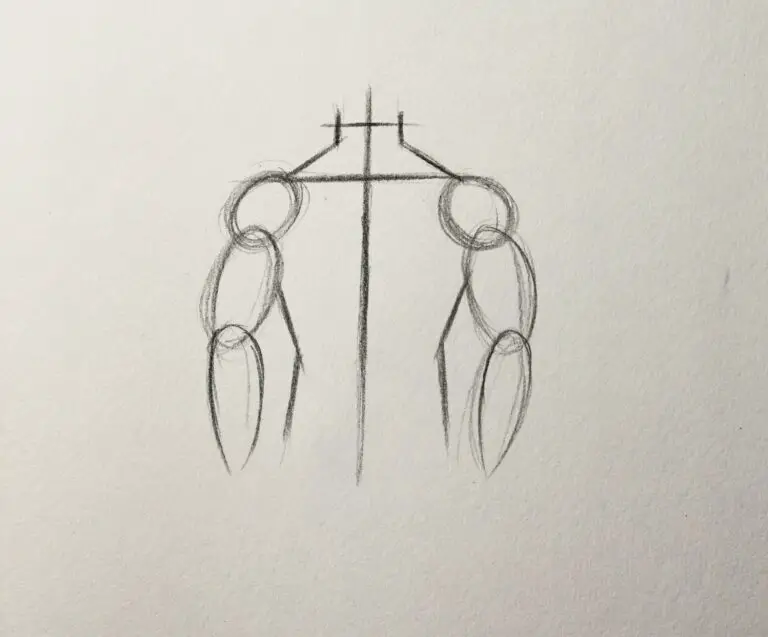
Step 3 : Now, start sketching the trapezius by extending the lines from the shoulder area up to the neck.
Step 4 : Add a curve for the elbow and for the lower arm. Connect the lines with smooth curves to indicate the shape and contour of the arm. To draw the latissimus dorsi (lat) and waist using lines, begin by extending diagonal lines from the sides of the upper body, curving towards the lower back.
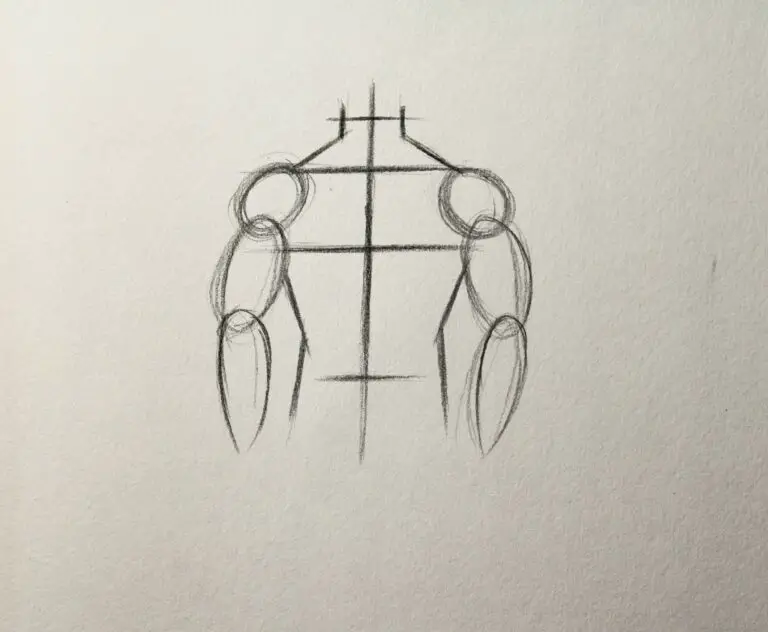
Step 5 : Use straight lines to indicate chest and lower abdomen.
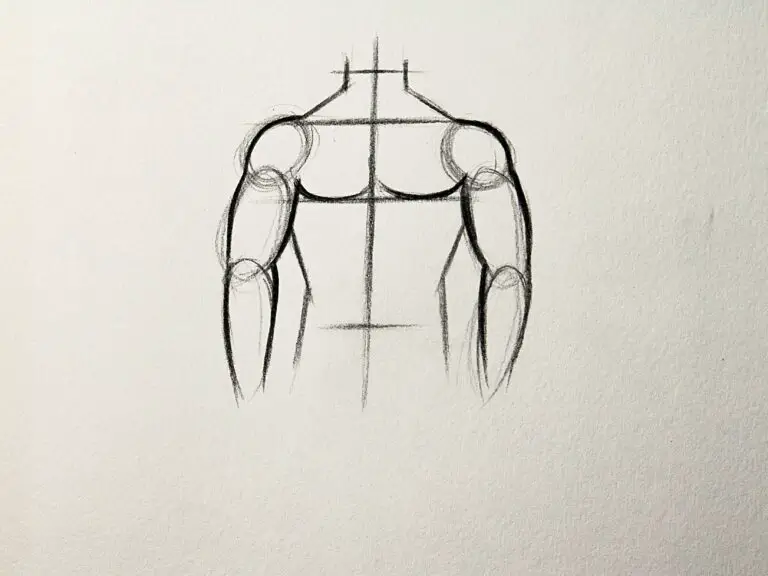
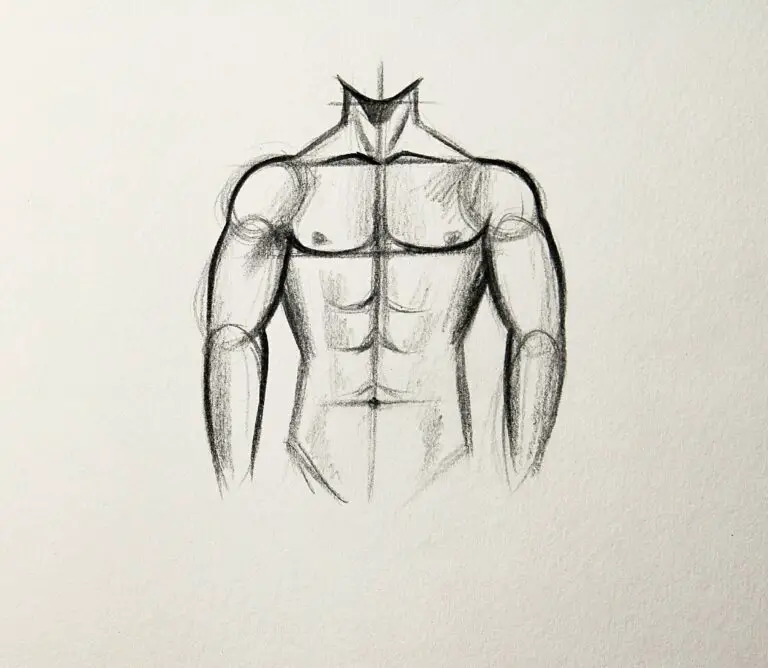
Step 6 : Take a closer look at your initial sketch and make improvements to the lines, making them more defined and accurate. Add intricate details such as clavicles, collarbones, and muscle definition to bring a sense of realism and depth to your drawing.
Step 7 : When shading a torso, pay attention to the light source’s direction and strength. Apply light strokes to darken areas that are farther from the light, like the sides and folds. Include shadows to create depth and emphasize muscles. For a smoother appearance, blend and smudge with a soft tool.
Drawing a torso is an important aspect of figure drawing. By following these steps and practicing regularly, you can develop the skills to accurately depict the human form.